As an Amazon Associate I earn from qualifying purchases.
This step-by-step guide is going to show you how to tie a Copper John. For a small nymph pattern, it can seem quite complicated at first. Especially looking at all the material needed. However, every part of this fly is crucial to its success and adds to the fish catching ability it is famous for.
The Copper John is one of my favorite still water nymph patterns. I’ve used it for many years while fly fishing in South Africa for trout, especially when large, fast retrieved streamers seem to get ignored.
As a part of the Amazon Associates Program and other affiliate programs, Into Fly Fishing® may receive a comission if you order products through links on this website.
Quick Look
- Difficulty Level: Medium
- Tying Time: 7 – 10 minutes
- Materials: Hook, thread, bead, lead wire, goose biots, copper wire, flash material, nymph skin, peacock herl, partridge feather (or equivalent), and UV resin.
- Hook Size: 10 – 18
What Is Copper John fly?
The Copper John is a general nymph imitation developed by John Barr in the 90s. The fly has 3 important characteristics that make it extremely effective.

The first is the profile. It’s obvious when you look at the fly that its not a pin-point accurate imitation of a specific nymph. But rather, it has an extremely well-defined nymph profile. From the pronounced tail, the thin segmented abdomen, and the thick lifelike thorax.
The second feature that makes it so effective is the slight flash that is incorporated in the wing case. Although not overly done, the flash under a dome of clear resin gives it a very attractive shimmer underwater.
The third, and most important factor, is the sink rate. It’s not just heavy, but if tied correctly, it’s slender as well. The combination of these two factors allows the fly to sink fast. That means you’re getting the fly in the zone quicker, allowing you to fish more effectively.
How To Fish A Copper John
The Copper John is an excellent fly to use on both still waters and rivers. On still waters, I regularly fish it behind a damselfly nymph or even a Woolly Bugger. I make use of either long slow constant or figure-of-eight retrieves.

In a river, the Copper John is a deadly fly to be used in a dry and dropper rig. It also works well when used in conjunction with one or two other nymphs.
Materials You’ll Need To Tie A Copper John
To tie the Copper John, you’ll need the following material.
Hook
A 1X or 2X long shank nymph hook made with strong wire. If you like having wider gapes on flies, you can make use of heavier gauge dry fly hooks. Do keep in mind that you need quite a long body on the fly.
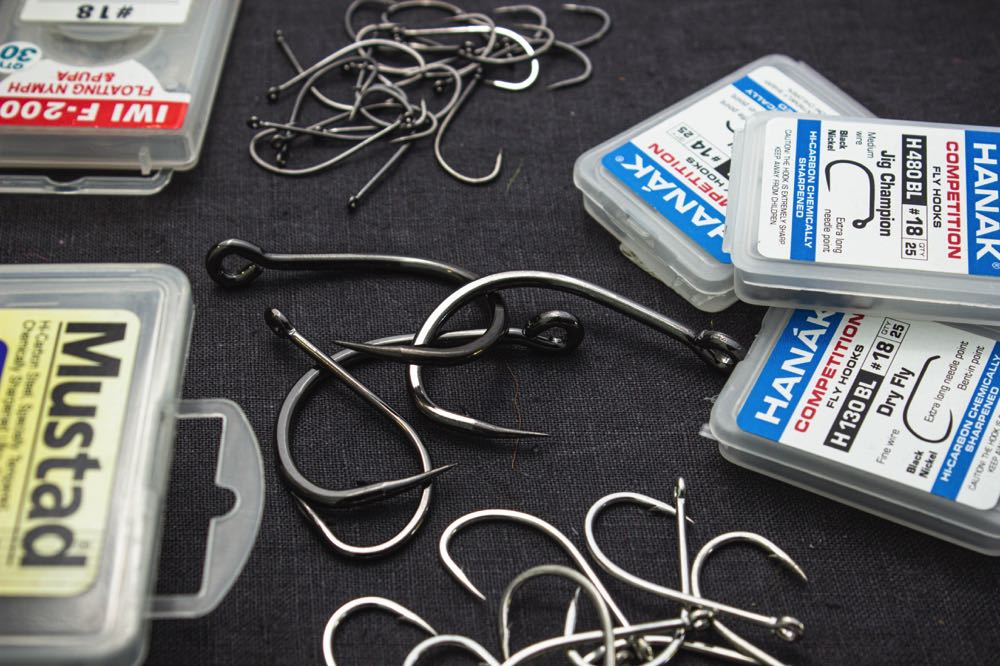
The list of hooks below will point you in the right direction:
- Umpqua-U101
- Umpqua-U105
- Umpqua-U103
- TMC3761
- TMC5262 (John Barr’s personal choice for the fly)
Bead
I recommend making use of tungsten beads. The relative density of tungsten is much higher when compared to brass. This will allow your flies to sink at a much faster rate, getting your fly in the zone quicker.
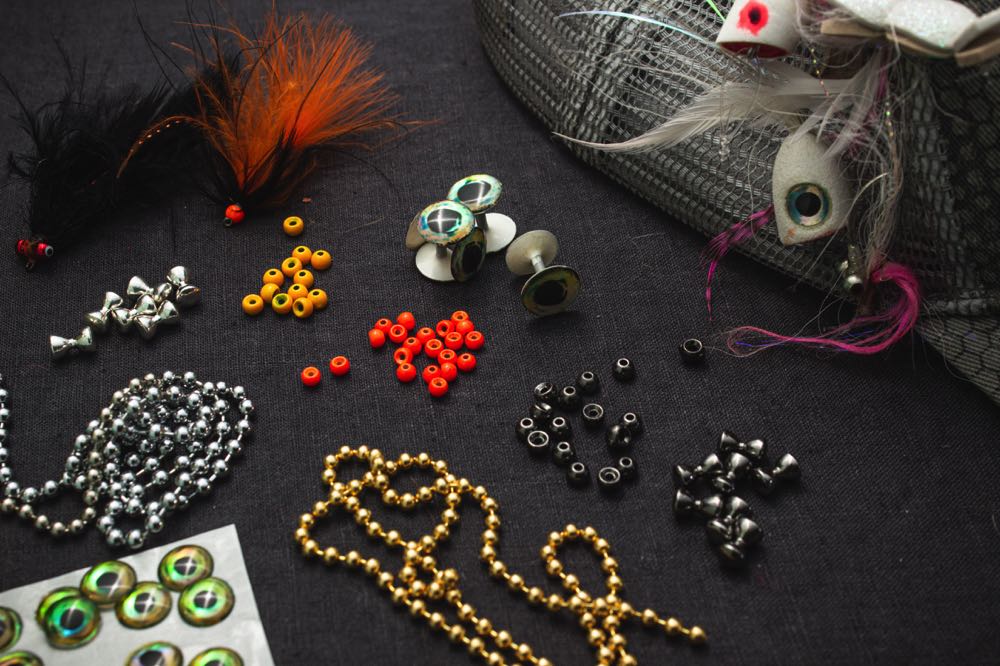
A Copper John is traditionally tied with a golden bead, but you’re welcome to experiment with different colored beads. Colors you can try are:
- Silver
- Metallic red
- Metallic green
- Copper
- Brown
Match the size of the bead to the hook and the expected sink-rate.
Recommended Fly Tying Beads:
→ Tigofly 24 Colors Fly Tying Beads
Lead wire
Lead wire is used to add even more weight to the fly. Because it is wrapped around the front 1/3 of the hook shank, it also adds bulk to the thorax. When tying flies, it’s always important to keep the silhouette of the fly in mind.
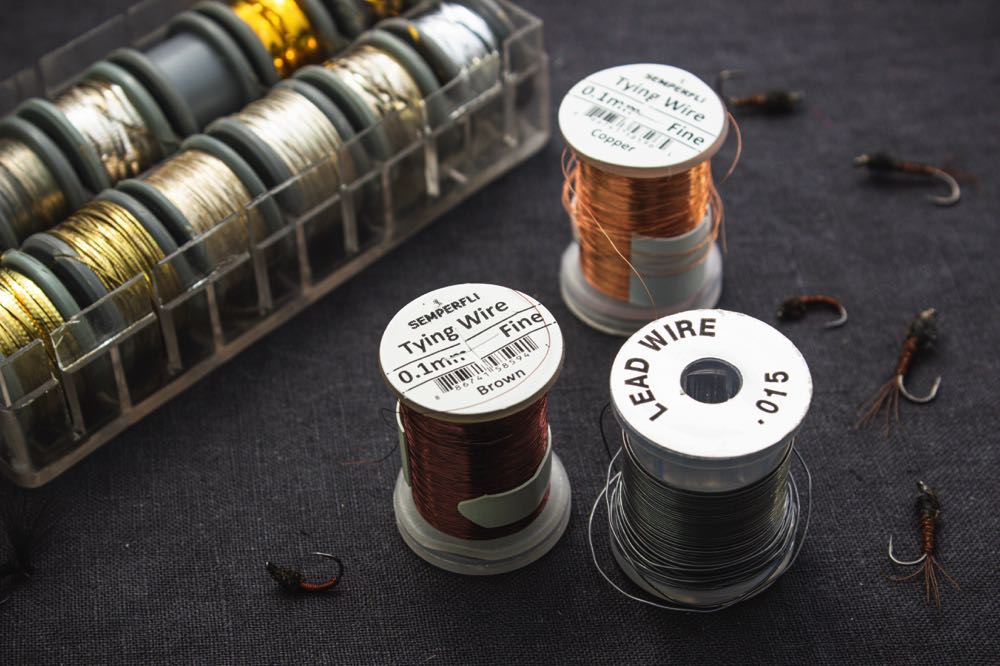
For most of the Copper Johns I tie, I use lead wire with a diameter of 0.015 inches. Depending on the size of the specific fly, vary the number of turns you make around the hook shank.
Recommended Lead Wire:
→ Hareline Dubbin Lead Wire Spool .015
Thread
In most sizes, any 70 Denier thread will work perfectly. On flies in the 16 – 20 range, you might want to consider making use of something finer.
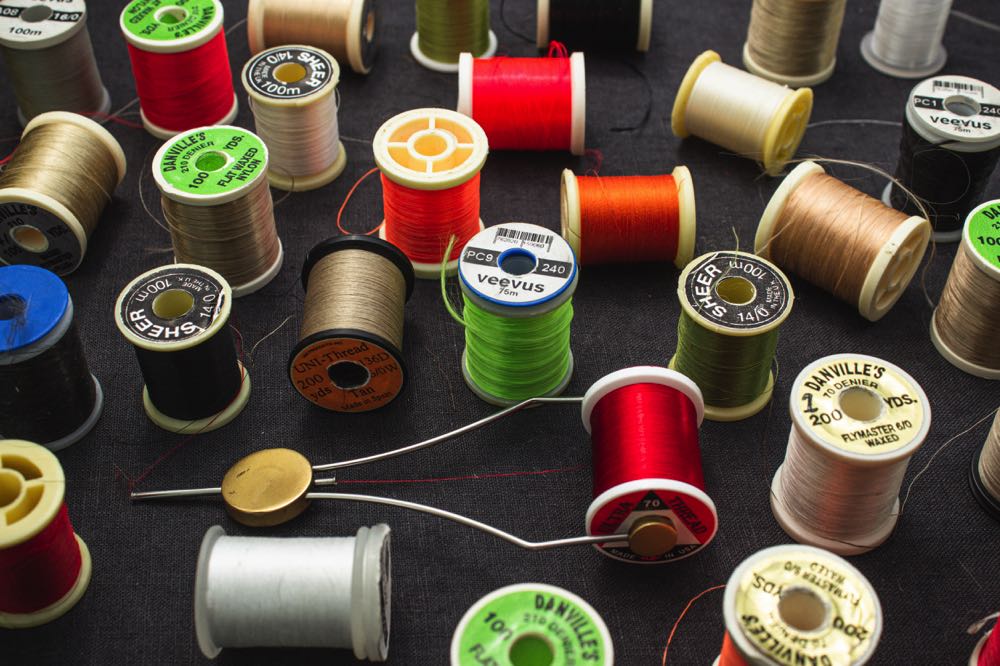
Regarding the color, I recommend using black, brown, tan, or white thread. If you’re making use of white, remember to color the thread with a permanent marker before making the whip finish.
Recommended 70 Denier Fly Tying Thread:
→ Hareline Ultra Thread 70 Denier UTC – Peacock Blue
Goose biots
The tail of the fly is made from two goose biots. On larger flies, you can make use of Turkey biots as well. You can vary the colors of the biots to what you have available.

Colors I recommend include:
- Brown
- Black
- Yellow
- Green (especially when used in conjunction with a metallic green bead)
- White.
Recommended Goose Biots:
→ Wapsi Goose Biots
Copper wire
The abdomen of the fly is made from wire material. The most popular colors on a Copper John is somewhere between brass and gold. But once again, you’re welcome to play around with the color.
Recommended Copper Ribbing Wire:
→ Phecda 10pcs Assorted Colors 0.3MM Copper Wire
Flash material
The flash material will lay at the top of the finished wing case. It can be made with various materials. I’ve even used candy wrapping cut into strips. In the recipe below, I’m using Hareline Flashback material.
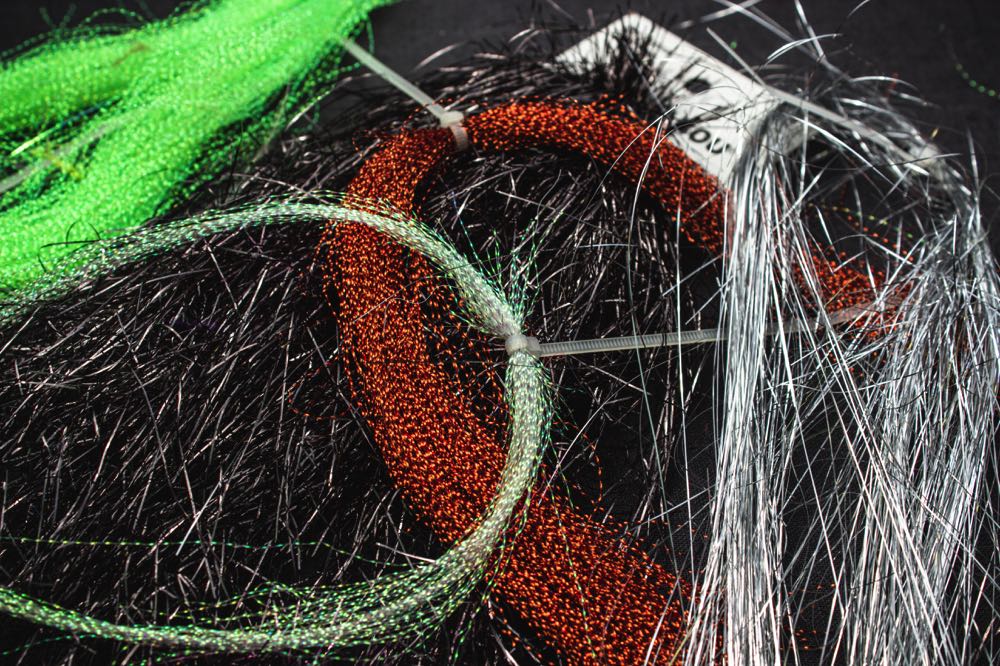
Recommended Flash Material:
→ Phecda Sport 10 Pack Colorful Fly Tying Flash
Nymph skin
This will form the bottom layer of the wing case. Any soft, elastic material cut into a strip can be used. I am making use of Hareline Scud Back in Brown.
Recommended Scud Back Material:
→ Scud Back Materia 1/8″ Wide Brown
Peacock herl
Depending on the size of the hook, you’ll be making use of one or two peacock herl fibers per fly. As always, try to get the best quality you can. This does not necessarily mean that the most expensive stuff is the best.
Recommended Peacock Herl:
→ Hareline Strung Peacock Herl
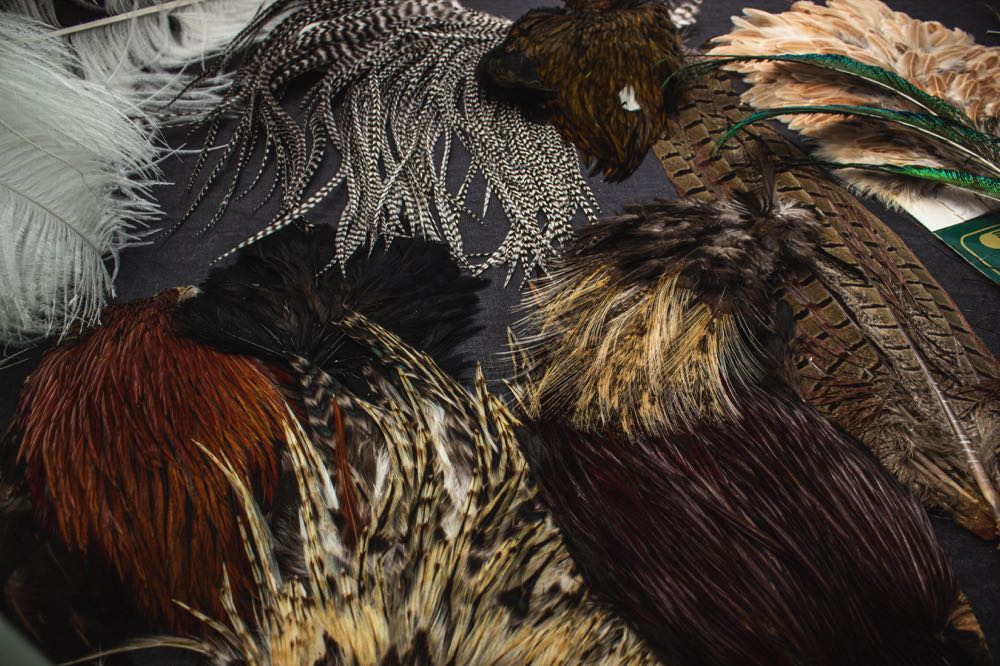
Partridge or equivalent feather
This feather will be used to create the legs on either side of the fly. Any short partridge or pheasant feather will work. I’ve also made use of mallard and chicken hen feathers.
Recommended Hackle:
→ Introductory Hackle Pack – 4 Assorted
UV resin
A big drop of UV resin will be placed on top of the wing case, creating a translucent bubble. This will also add durability to the fragile wing case and seal the whip finish.

If you don’t have UV resin at hand, a clear setting 5-minute epoxy does the same thing. When taking this route, finish a dozen or so Copper Johns before mixing the epoxy, then you add the resin to each fly.
Recommended UV Glue / Resin:
→ Loon Outdoors UV Clear Finish
Tools Needed to Tie A Copper John
You’ll need the following fly tying tools to tie a Copper John:
Watch the How To Tie a Copper John

Let’s Get Started!
How To Tie a Copper John
As far as nymphs go, the Copper John is quite involved. Follow the steps set out below, and you’ll master the fly in no time. To follow along with the step-by-step guide below, here’s a list of the material that I used:
- Hook: Mouche Nymph 8443 size 16
- Bead: 2mm tungsten countersunk gold bead
- Lead wire: 0.015-inch lead wire
- Thread: Griffith’s Sheer 14/0 white
- Tail: Brown goose biots
- Abdomen: UTC copper wire
- Wing case: Flash and scud back material
- Thorax: Peacock herl
- Legs: Black hen neck hackle
- Resin: UV Resin
Step 1: Place The Bead On The Hook
A countersunk bead has one small hole on the one side and a larger hole on the opposite side. Slide the bead over the hook’s point, small hole first. If you place the larger hole first, it will obstruct access to the hook’s eye.
Leave the bead right at the eye of the hook as this will be the weighted head of the fly.

Step 2: Secure The Hook in The Vise
Place the hook between the vise’s jaws. The hook point and barb of the hook need to be visible. Also, make sure that the hook shank is level.
Once you’re happy with the hook’s placement, secure it by locking the cam lever. Once clamped in, the hook should remain secure even when you give it a firm wiggle with your fingers.

Step 3: Wrap The Lead Wire Around The Hook Shank
Break a section of lead wire from the spool and hold the tip between your left thumb and forefinger (if you’re a righthanded tier). Make 10-12 wraps around the hook shank and remove the excess.
Push the lead wire coil up against the bead to secure it in place so that the front end of the coiled wire sits just inside of the large hole in the countersunk bead.

Step 4: Lock The Thread in Place
Hold the thread’s tip with you one hand and make about 8 – 10 thread wraps around the hook shank.
Run the thread over itself to lock it in place. Let the bobbin hang freely and remove the excess thread tag end.

Step 5: Move The Thread Back On The Fly
With touching turns, wrap the thread backward all the way to the point where the bend of the hook starts. There you can let the bobbin hang freely.
For this part, you want the thread to intersect the base of the barb on the hook’s point. That will give you a good indication of how long the body of the fly should be.

Step 6: Prepare The Goose Biot Tail
You’ll notice that the goose biot tail has a natural curve to it. To prepare the Goose Biot Tail, place the fibers back to back so that they flare outwards. Also make sure that the tips align.
The length of the tail should be about the same length, or slightly shorter than the abdomen. Cut the goose biot to place and tie it in with 2 pinch wraps to secure it in place.

Step 7: Tie in The Goose Biot Tail
After you cut the two goose biots from a feather and place them against each other, you’ll see that they flair in opposite directions. Measure the length of the tail to be half the total length of the fly’s body. Then place the biots on top of the hook’s shank and tie them in with two or three pinch wraps.
Advance the thread forward for the entire length of the abdomen. Cut off the excess biot material.

Step 8: Tie in The Copper Wire
Cut a long section of copper wire from the spool. Tie in the tip at the start of the abdomen (this is where you left the thread after the previous step).
While manipulating the thread to stay on the side of the shank, wrap your thread backward. When you reach the base of the tail, make a couple of securing wraps.

Step 9: Create The Copper Wire Abdomen
Move your thread forward, again leaving it at the start of the thorax. Wrap the wire forward with touching turns to create the abdomen. If you have some spacing between the touching turns where the thread is exposed, don’t worry. This abdomen doesn’t have to be perfect.
Once you reach the end of the abdomen, secure with the tying thread. Cut off the excess wire.

Step 10: Tie in The Flash Material
Cut a thin strip of flash material about 1 inch long and slightly thinner than the distance from the hook point to the hook shank.
Place the tip just behind the bead and tie in with thread. Wrap the thread backward to where the abdomen ended.

Step 11: Tie in The Scud Back Material
Cut a similar-sized section of the scud back, or similar material, and tie in just behind the bead on top of the hook shank.
Similar to the step above, wrap the thread backward until you reach the abdomen.

Step 12: Tie in The Peacock Herl
Select two peacock herl fibers and cut their tips so that they align. Tie in just behind the bead and wrap the thread backward to the base of the abdomen.
At this stage, you’ll have the peacock herl, scud back, and flash material tied in at the same point on the hook shank. The flash and scud back on top of the hook shank, and the peacock herl slightly off to the side.

Step 13: Create The Peacock Herl Thorax
Advance the thread forward to just behind the bead. Wrap the peacock herl forward, taking care not to leave any gaps that expose the underlying thread.
When you reach the bead, tie off with a couple of tensioned wraps, then cut off the excess peacock herl.

Step 14: Prepare The Legs Feather
Select a feather that you’re going to make the legs from. Remove all fibers from the base of the feather to clean it up.
Then, with a pair of fine point scissors, cut the tip of the feather out to create a V-shape. Don’t worry too much about the length of the legs for now as we will adjust their length in later steps.

Step 15: Tie in The Legs
Place the feather on top of the hook shank, with the V-shape cutout facing backward. Pinching it in place with your non-tying hand, secure it with two or three loose wraps.
Do not pull on the feather to shorten the legs yet. We’ll be doing that in the next step.

Step 16: Tie Over The Scud Back & Adjust The Leg Length
Pull the nymph skin over the thorax and secure with two loose wraps of tying thread. At this stage, you can pull gently on the base of the feather to shorten the legs. The desired length is when they are folded back they reach the tip of the hook point.
Now, pull the scud back material so that it folds over the wing case and make two securing wraps to lock both in place.

Step 17: Finish The Wing Case
Pull the flash material over the wing case and secure with two wraps. Being careful of the thread, cut the flash, scud back and feather off as close to the bead as possible.
It’s okay if there’s a little bit of material left near the head of the fly at this point. We will clean that up while tying off the fly.

Step 18: Finish The Thorax
It’s time to finish up the thorax near the bead of the fly. At this point, it’s a good idea to use your black felt marker to color the thread black so that it blends in better with the fly.
Color a few inches of thread, wrap that thread with a few turns, then apply more marker and do this again so that you’ve taken about 8-10 turns with the black-colored thread.

Step 19: Whip Finish The Fly
Make a couple of thread wraps to tidy up the left-over material. Finish the fly off with two whip finishes and cut off the thread.
If you don’t know how to do this, make sure you check out our video and tutorial on How To Do a Whip Finish.

Step 20: Create a Resin Bubble
Place a couple of drops of UV resin on top of the wing case. Spread out the resin to the point where the wing case and abdomen meet and also slightly over the bead.
If you have a rotary vise, you can rotate it now to ensure that the gravity works to keep the glue even on top of the fly, then cure with a UV torch for a couple of seconds.

The Copper John

Now You Know
How To Tie a Copper John
I hope that this guide made the steps to tie a Copper John clear and easy to follow. For a small nymph, it is quite involved. But I promise you, this is extremely effective and well worth all the effort.
Please leave any comments or questions down below. I’ll be more than happy to clarify anything and would love to hear back from you guys.
Like This Article? Pin it!


Amazon and the Amazon logo are trademarks of Amazon.com, Inc, or its affiliates.


