As an Amazon Associate I earn from qualifying purchases.
This guide will show you how to tie my favorite Caddis Emerger fly. It’s an excellent caddis imitation to have in your box when fish start eating caddis pupa. We’ve all been there. Fishing a productive stretch of river and suddenly the bite goes off.
Your usual deep nymphing techniques don’t produce the goods where you usually find the fish. Except, now and then, when you allow your nymphs to swing past you and allow the current to pick them up, you get a hookup.
Chances are good that they’re eating caddis pupa.
As a part of the Amazon Associates Program and other affiliate programs, Into Fly Fishing® may receive a comission if you order products through links on this website.
Quick Look
- Difficulty Level: Easy
- Tying Time: 5 minutes
- Materials: Hook, thread, dubbing, UV Ice dubbing, hare’s mask, head cement
- Hook Size: 12 – 18
What Is a Caddis Emerger?
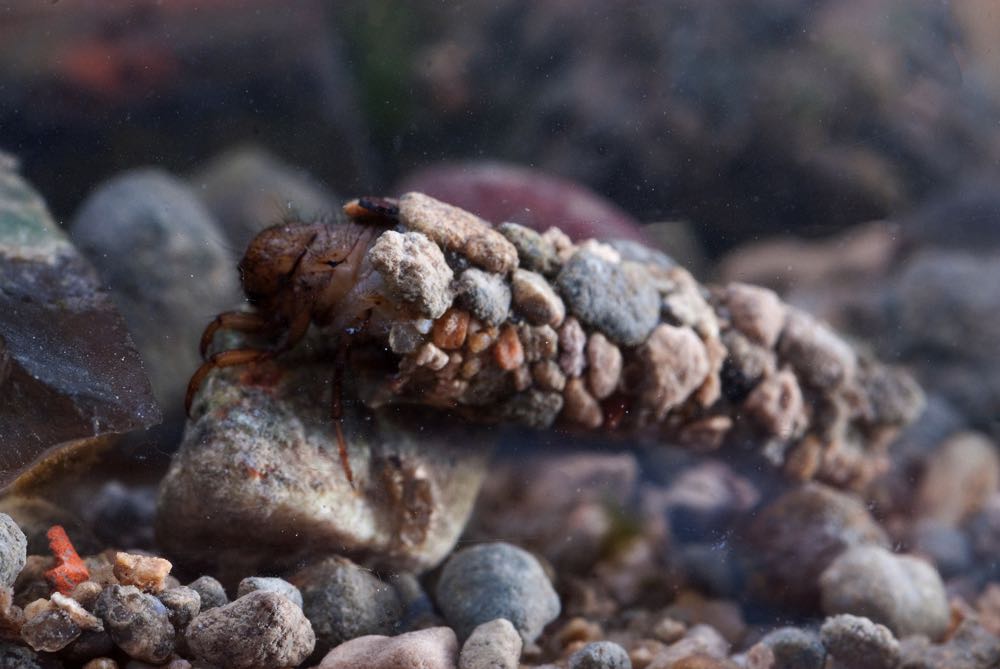
A Caddis Emerger is an imitation of the caddis insect evolving from the larva to the adult stage. This period in the insect’s life is also called the pupa phase.
These “hatches” occur during different times for different species of caddis. When it does occur, fish become very selective and only feed on emergers.
How to Fish a Caddis Emerger?
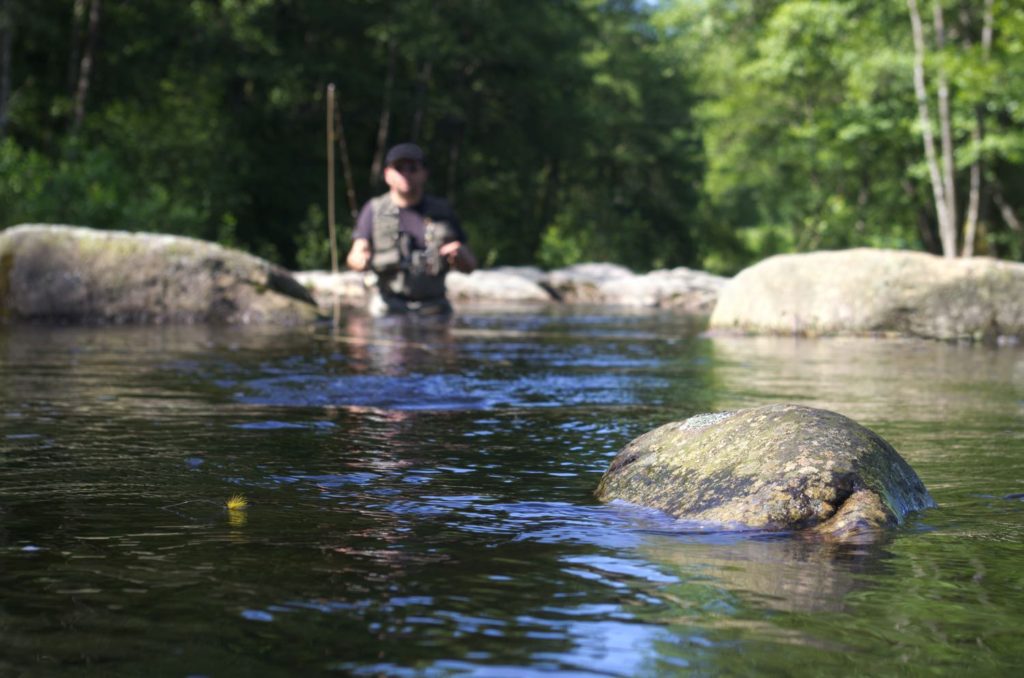
The Caddis Emerger can be fished in any river that holds good numbers of caddis insects. If you are fishing a new stretch of water, pick a rock from the bottom of the river and inspect it to see what the caddis nymphs look like. Always match the fly you are fishing the resemble the natural insect.
The Caddis Emerger can be fished, very successfully, using two methods.
Dry and Dropper
One of my favorite methods to fish the Caddis Emerger is using the dry and dropper method. The Emerger is attached 1 – 2 ft behind a dry fly. The combination is cast upstream and allowed to dead drift through likely fish-holding water.
Nymphing
The Caddis Emerger can prove to be very useful when used with most nymphing techniques. Whether you’re using a big bobber, French, Polish, or other techniques, the Caddis Emerger will work.
Keep in mind where the natural emerger occurs in the water column (somewhere between the surface and the bottom) and fish it in that area.
Materials You’ll Need to Tie a Caddis Emerger
You need the following materials to tie a Caddis Emerger:
Hook
You can certainly tie a caddis emerger pattern on a standard curved shank scud hook. For the best results, I recommend that you make use of hooks designed specifically for emerger patterns. They give the fly the correct profile.
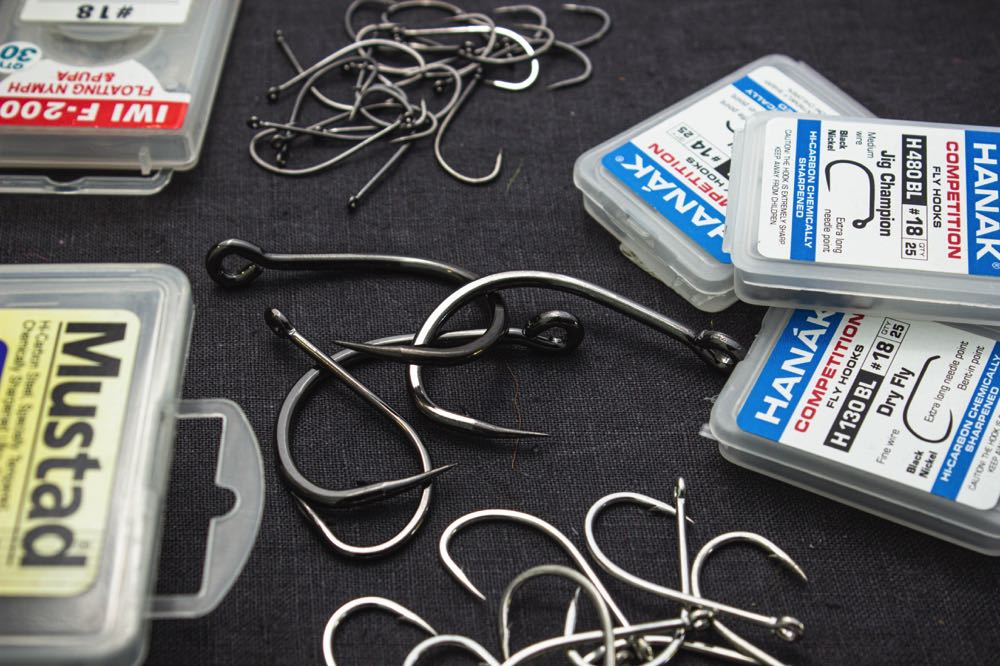
The following hooks will work perfectly (for most applications I only recommend barbless hooks for catch and release purposes):
Thread
Use your preferred thread for nymphs. If you don’t have one, I recommend a fine thread with a high breaking strain, lies flat and can be split when needed.
For this reason, my favorite nymph thread is Semperfli Nanosilk. I mainly use it in white and color the thread with a permanent marker before finishing the fly.
Recommended 32 Denier or 16/0 Fly Tying Thread:
→ Veevus 16/0 Fly Tying Thread – Assorted Colors
Bead (Optional)
During the emerger life stage of a caddis fly, the insect moves from the bottom of the riverbed, where it spends most of its life, to the water’s surface. That means the emerger can be suspended anywhere in the water’s column.
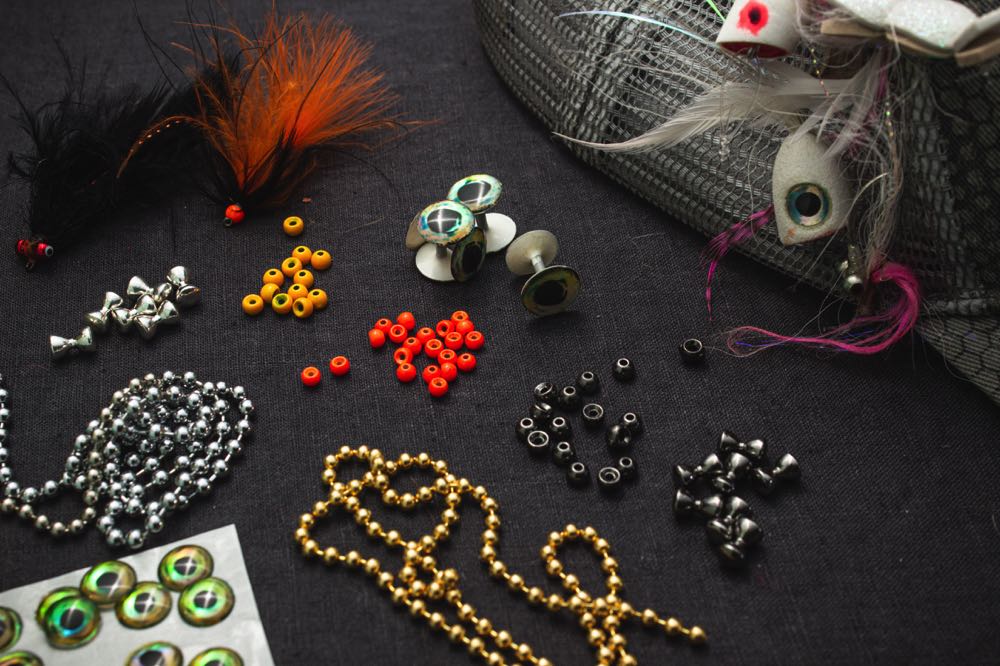
You can tie the Caddis Emerger unweighted or include a bead (tungsten or brass). You can even include a glass bead to the fly.
Recommended Fly Tying Beads:
→ Tigofly 24 Colors Fly Tying Beads
Dubbing
Any dubbing that hasn’t been proofed for dry flies can be used. The color should be matched to the caddis species on the water you’re fishing.
Recommended Dubbing Material:
→ Hareline Ice Dub – Dispenser W/ 12 Popular Colors
Ribbing (Optional)
On many of the Caddis Emerger patterns I tie, I leave out the ribbing. As you will see in the step-by-step guide, I am deliberately creating a buggy looking abdomen. When the dubbing gets wet, this will result in a gelatinous appearance.
If you do want to include ribbing, you are more than welcome to do so. Various ribbing materials can be used. These materials include:
- Wire
- Monofilament
- Flash material (such as Krystal flash)
Recommended Flash Material:
→ Phecda Sport 10 Pack Colorful Fly Tying Flash
Ice Dubbing
The Ice Dubbing wing makes this version of the Caddis Emerger so effective. Once wet, it turns translucent leaving the fly with a tinge of UV and a flowing, gel-like mass.
Recommended Dubbing Material:
→ Hareline Ice Dub – Dispenser W/ 12 Popular Colors
Hare’s Mask
The thorax is made by spinning hare’s mask fibers in a brush. Any soft, long-fibered fur can be used. Match the color of the thorax to that of the natural.

Recommended Hare’s Mask:
→ Hareline Hare’s Mask Grade #1
Head Cement
Any head cement will suffice. Some of the products I recommend are:
Tools Needed to Tie a Caddis Emerger
You’ll need the following tools to tie a Caddis Emerger:
Watch the How to Tie a Caddis Emerger Video

Let’s Get Started!
How To Tie a Caddis Emerger
The recipe and steps below will take you through the process to tie one of my favorite Caddis Emerger patterns. It is not a specific recipe. You can follow along with materials that are similar or different in color.
Caddis Emerger Recipe
- Hook: Mouche 8471 size 14
- Thread: Semperfli Nanosilk 50D White
- Abdomen: FlyRite Poly Dubbing Caddis Green
- Developing wing: Ice Dubbing Pearl White
- Legs/Thorax: Hare’s mask
- Brown permanent marker
Step 1: Place The Hook in The Vise
Place the hook between the jaws of the vise. Make sure that the hook and barb (if you’re using a barbed hook) are protruding.
Also, ensure that the eye of the hook is positioned so that the thread won’t slip when whip finishing the fly. Lock the hook in place.

Step 2: Lock in The Thread
Hold the thread in your left hand and place the thread over the mid-point of the hook shank. Wrap the thread 5 or 6 times forward.
Wrap the thread over itself until you feel that the thread is locked in place. Cut off the excess tag.

Step 3: Lay a Thread Foundation
Wrap the thread backward with touching turns. Move along the bend of the hook until you reach the point where, if you let the bobbin hang freely, the thread will lie just on the inside of the hook bend.
This is generally the perfect place to end this type of fly to ensure the body is long enough.

Step 4: Form a Dubbing Loop
Hook the thread with a dubbing brush spinner and double it over. The loop should be around 4 inches long.
Lock the loop in place by running the thread over itself a couple of times. Then, wrap the thread around the base of the loop once to close it down. Run the thread ¾ of the hook forward.

Step 5: Insert The Dubbing Into The Loop
Take two similar colors of dubbing and form a long, flat clump with each. Place them on top of each other with a narrower section on one end and a broader section on the other.
Open the dubbing loop with your finger and slide the dubbing into the loop, narrow section closest to the body. Remove your finger to trap the dubbing.

Step 6: Spin The Dubbing Loop
Slide the dubbing forward until it almost touches the body.
Spin or twist the dubbing brush tool until you have formed a slender dubbing noodle with some picky fibers sticking out from it.

Step 7: Form The Abdomen
Wrap the dubbing brush forward with touching turns to form the abdomen. When the abdomen is between 2/3 and ¾ of the total fly length, tie off with the thread.
You want the abdomen to have some loose fibers that will absorb water.

Step 8: Create The Developing Wings
Take a very small amount of Ice Dubbing from the packet. There should be about 10 fibers in total. Tie the dubbing in on one side of the hook at the mid-point of the fibers.
Then, fold the rest of the material over to the other side of the hook and tie in. Pull the Ice Dubbing back and cut off slightly longer than the hook bend.

Step 9: Tear Off The Hare’s Mask Fibers
Pull around 3 inches of thread from the spool and let the bobbin holder hang freely.
Tear off a couple of clumps of soft and long hare’s mask fibers. If you don’t have enough initially, tear off more until you have enough.

Step 10: Create The Dubbing Brush
Split the thread with a bodkin or scissor point. Place the hare’s mask between the thread fibers. Pull out another 2 inches of thread and allow the bobbin to hang over your finger creating a 90-degree angle.
Spin the bobbin until the hare’s mask spins. Push the twists forward with your thumb and forefinger.

Step 11: Palmer The Thorax
Wrap the brush forward while folding back long fibers.
Pull back any forward-facing fibers and create a neat head for the fly.

Step 12: Finish The Fly
Color the white thread with a permanent marker. Whip finish the fly and seal the head with your favorite head cement.
We have a detailed guide on How To Whip Finish a Fly if you need a refresher or want to learn.

The CDC & Elk

Now You Know
How To Tie a Caddis Emerger
Now that you’ve seen how I tie my Caddis Emerger, please feel free to experiment with your own. Change the colors, dubbing material, and add beads. It’s such a fishy pattern that the possibilities are near endless.
Once again, thanks for taking the time to work through one of our step-by-step guides. Please feel free to leave any comments or questions at the bottom of the page.
Like This Article? Pin it!


Amazon and the Amazon logo are trademarks of Amazon.com, Inc, or its affiliates.


