As an Amazon Associate I earn from qualifying purchases.
This guide will teach you how to tie the very popular Perdigon Nymph. This fly is a must have if you are exploring new fly-fishing techniques such as Euro Nymphing or tight-line nymphing.
I grew up near a section of the Vaal river where fly fishing for Smallmouth Yellowfish became very popular in the early 2000s. At that stage, advanced competition-styled nymphing techniques hadn’t reached us yet, so we were fishing normal trout nymphs under huge indicators.
The Perdigon was the first specialist nymphing fly that I started using on our rivers. The results were incredible. Instantly, my catch-rate doubled. Just by using a different fly.
Watch the How to Tie a Perdigon Nymph Video

Quick Look
- Difficulty Level: Easy
- Tying Time: 5 minutes
- Materials: Hook, bead, lead wire (optional), thread, Coq de Leon, flashy body material, UV resin, and a Copic marker
- Hook Size: 12 – 20
What Is a Perdigon Nymph?
The Perdigon Nymph was originally developed by the Spanish competition fly fishing team. It was further refined by the French. The popularity of European nymphing has led to many competition flies becoming everyday fodder.

As with so many other successful competition nymphs, the Perdigon has a strong nymph-like profile and it sinks like a stone.
This fast sink-rate makes it possible to deliver the fly to finicky trout in very fast water. It also ensures that the fly is spending more time in the feeding zone, which results in more hookups.
How to Fish a Perdigon?
The Perdigon is most successfully used when nymphing, either on its own or in a train of flies. Cast in an upstream direction and allow the fly to drift freely through likely fish-holding water. It is of utmost importance that the fly drifts naturally as this will result in more takes.

To allow the fly to drift naturally, and drag-free, a method known as high-sticking is used. This method lifts excess leader, which creates drag, off the water. Keep in constant contact with the nymph to detect subtle takes.
Materials You’ll Need to Tie a Perdigon
You will need the following materials to tie a Perdigon:
Hook
Perdigon style flies can be tied using either a normal down-eyed or a jig hook. Both hook types work well. Match the size of the hook to suit the desired nymph size. My recommended standard hooks are:
I recommend the following jig hooks if you want to go that route:
Bead
The primary purpose of the bead is to get the fly down quickly. For this reason, Perdigon nymphs are often tied using large tungsten beads. The secondary purpose of the bead is to form part of the fly’s thorax.
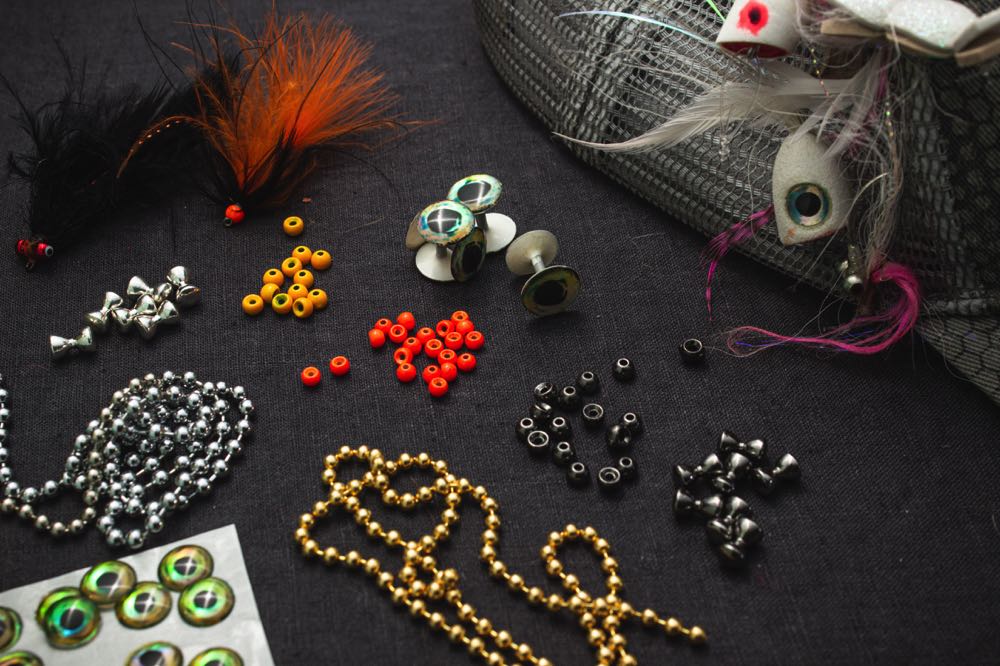
Use a countersunk or offset bead on standard down-eye hooks. For a jig hook, choose a slotted tungsten bead. This bead will ensure that the fly swims hook-point up. Tungsten beads come in various colors. You can play around with the color to suit the fly and fishing situation.
Recommended Fly Tying Beads:
→ Tigofly 24 Colors Fly Tying Beads
Lead wire (optional)
If you require more weight than the tungsten bead can offer, add a couple of lead wraps behind the bead. By doing this you will build up bulk in the thorax section of the nymph. Once the lead wire has been wrapped around the shank, push it up against the back of the bead to secure it in place.
Recommended Lead Wire:
→ Hareline Dubbin Lead Wire Spool .015
Thread
For the primary tying thread, make use of your favorite nymph thread in a color that will suit the fly. The most important characteristic of the thread is that it’s not too bulky.
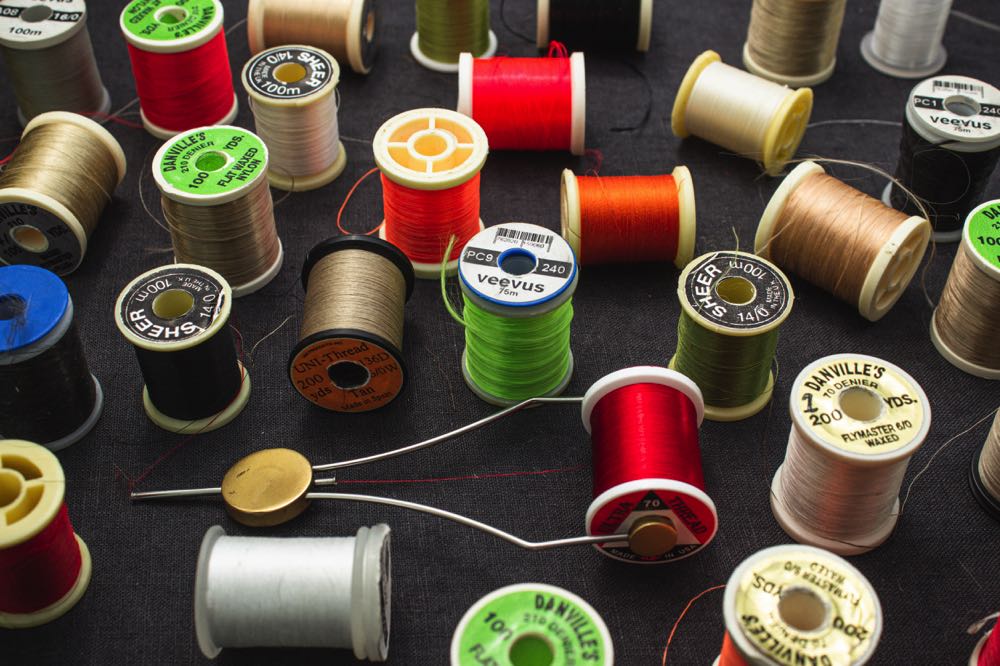
Make use of a secondary bright-colored thread to add a hotspot to the fly. The following colors work well:
- Fluorescent orange
- Chartreuse
- Fluorescent red
- Pink
Recommended 50 Denier 12/0 Thread:
→ Semperfli – Nano Silk 50D 12/0
Tail
Most Perdigon variations you’ll find out there uses Coq de Leon fibers for the tail. This is a relatively expensive material but has recently been made more accessible by Whiting. They offer a tailing pack that can tie you thousands of flies.
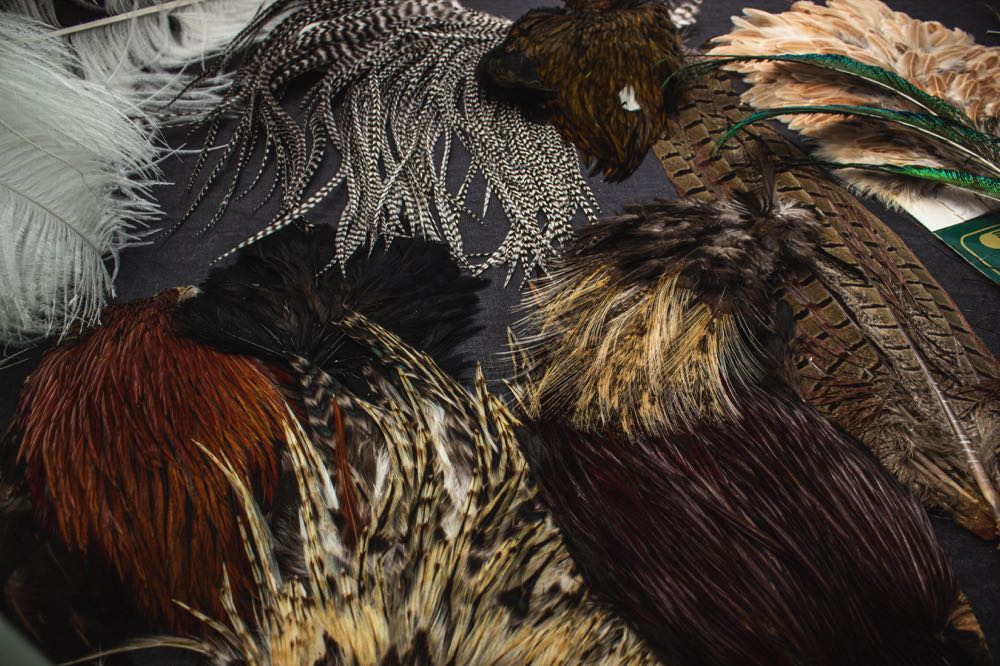
Coq de Leon fibers are stiff, mottled, and have a brilliant shine. This material is also used in many other nymphs and dry flies. It is an investment worth making for the serious fly tier.
Other materials that can be used for the tail include:
- Cock hackle fibers
- Microfibbets (you get them in a mottled version nowadays)
- Paintbrush fibers
- Other fine, stiff hair fibers
Recommended Coq de Leon Feathers:
→ Whiting Farms Coq De Leon Hen Soft Hackle with Chickabou
Recommended Hackle:
→ Introductory Hackle Pack – 4 Assorted
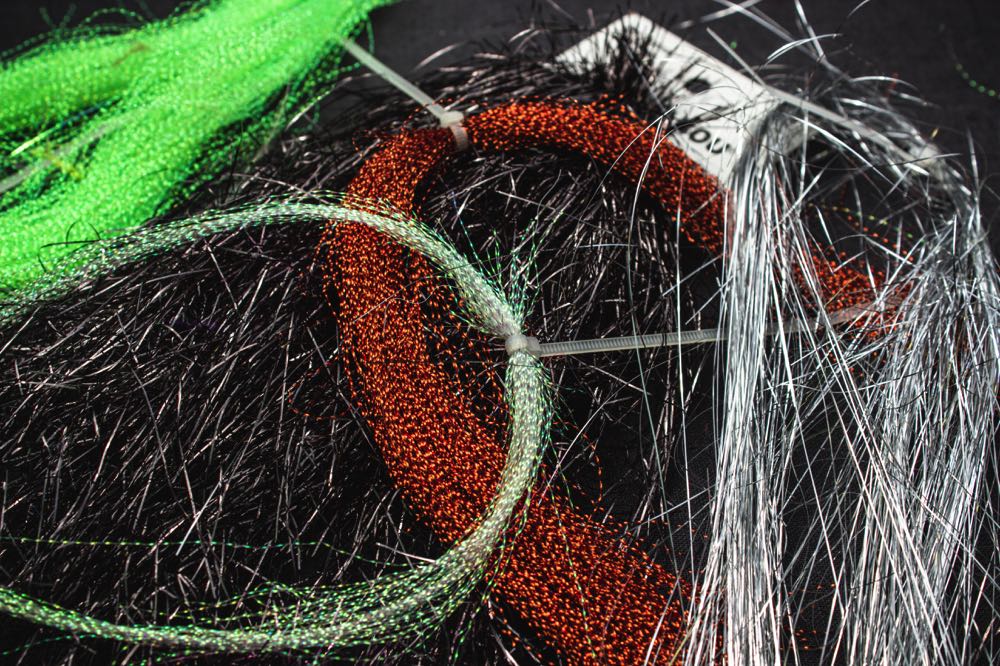
Abdomen
The abdomen of the Perdigon is fine and tapered. Most versions are made using a flashy material such as:
- Hends Perdigon Pearl Body material
- Any flash material (Krystal Flash, Flashabou)
Recommended Flash Material:
→ Phecda Sport 10 Pack Colorful Fly Tying Flash
Thorax
To assist the fast-sinking ability of the Perdigon, the thorax is created using thread or wound material. The thorax is tapered to be thicker than the abdomen creating an accurate nymph profile. Create the thorax by making use of a secondary, bright-colored thread (as discussed in the thread section above).
Wing Case
The wing case is a dark-colored section on top of the thorax. This can be created by adding a drop of dark nail varnish or coloring the first layer of UV resin (as discussed in the step-by-step guide).
Tools Needed to Tie a Perdigon
You’ll need the following tools to tie a Perdigon:
Let’s Get Started!
How To Tie a Perdigon Nymph
Let’s have a look at how I tie one of my favorite Perdigon variations in the step-by-step guide below. The specific materials I am using are listed in the recipe below.
Perdigon Recipe
- Hook: Mouche 8423 size 14
- Bead: 3.5mm Countersunk tungsten bead in copper
- Lead wire: Hends lead wire
- Thread: Semperfli Nanosilk 50D white
- Tail: Coq de Leon (from a Whiting tailing pack)
- Abdomen: Hends Perdigon Body PBF34
- Thorax: Fluorescent orange thread
- Wing case: Brown Copic marker
- UV resin: Solarez thin
Step 1: Slide The Bead On The Hook
Select the desired hook and bead. The bead has a small hole on the one side and a larger hole (or slot when using slotted beads) on the other.
Slide the bead, small hole first, over the hook point. Allow the bead to sit against the hook eye.

Step 2: Place The Hook in The Vise
Hold the thread with your left hand and place the thread over the hook shank, about 1/3 behind the eye.
Make 5 touching thread wraps forward, then run the thread over itself until you reach the tag end. Let the bobbin hang freely and cut off the excess.

Step 3: Wrap The Lead Wire
Break a section of suitable lead wire from the spool and hold the one end between your left hand’s thumb and index finger.
Place the lead wire over the shank with your right hand and make 6-8 forward wraps. Break, or cut, off the excess on both sides.

Step 4: Push The Lead Wire Forward
Push the lead wire forward against the bead. This will secure the bead in place and form the foundation for the thorax.
You can add a drop of superglue where the two meet.

Step 5: Attach The Thread To The Hook
Hold the end of the thread between your left-hand thumb and index finger. Place the thread over the hook shank, behind the lead wire section.
Make 6-8 wraps forward. Wrap the thread over itself in a rearward direction to lock it in place. Cut off the excess.

Step 6: Lay The Thread Foundation
Wrap the thread forward and cover the led wire. Spin the bobbin in the anti-clockwise direction now and then to flatten the thread. We don’t want to build up too much bulk at this stage.
Create an even taper, paying special attention to the transition point between the bare shank and the lead wire. Do not wrap to the bend of the hook yet.

Step 7: Tie in a Piece of Thread
Cut a 4-inch section of the fluorescent orange thread. Tie the tip in on top of the hook, at the base of the lead wire.
Wrap the white thread backward, securing the orange thread, until you reach the bend of the hook.

Step 8: Measure The Tail
Stroke back the Coq de Leon fibers on a feather. Cut off 6 – 8 fibers. Hold the base of the fibers and measure them against the hook.
The length of the tail equals the total length of the body (bead, thorax, and abdomen).

Step 9: Tie in The Tail
Place the measured tail at the tying in point. Secure with two pinch wraps.
Then run the thread forward, making about 4 wraps around the material.

Step 10: Pull The Orange Thread Forward
Pull the section of orange thread forward, splitting the Coq de Leon fibers in half.
Secure the orange thread and cut off the excess.

Step 11: Tie in The Perdigon Body Material
The Perdigon Body Material comes spooled and can be used with a bobbin holder.
Tie the tip of the material halfway along the abdomen. Advance the white thread forward and whip finish. Cut the thread off.

Step 12: Create The Abdomen
Wrap the Perdigon Body Material backward to the base of the tail. Create an evenly tapered body for 2/3 of the hook shank.
Generally with most insect flies, the abdomen will make up two-thirds of the body and the remaining third will be the thorax.

Step 13: Lock in The Fluorescent Orange Thread
Attach the fluorescent orange thread to the hook in the same way as Step 5 above.
Make sure to do this just behind the bead, as the orange thread will form the thorax.

Step 14: Tie Off The Perdigon Material
Secure the material used for the abdomen with a couple of wraps around the material and the hook shank.
When you are comfortable that it is secured in place and won’t easily be pulled out, cut off the excess.

Step 15: Build Up a Thorax
Cover up all underlying material with the orange thread. The thorax should measure approximately 1/3 of the body length and the abdomen the other 2/3.
Whip finish the orange thread and cut off. If you need a refresher, check out our guide on how to whip finish a fly.

Step 16: Coat The Fly With UV Resin
Coat the top and bottom of the fly with your desired UV resin. With a bodkin, spread the resin around the entire body, creating a taper.
You don’t want the resin too thick. Cure the resin with a UC torch.

Step 17: Color The Wing Case
Color the top of the thorax with a permanent marker. Create a neat and well-defined wing case.
Although it looks like it has no dimension at this stage, the next step will take care of that.

Step 18: Coat The Wing Case in UV Resin
Place a drop of UV resin on top of the colored wing case.
Spread the drop out to overflow into the abdomen and over the bead. Cure the resin well with a UV torch.

The Perdigon Nymph
Now You Know How To Tie a Perdigon Nymph
The Perdigon can be tied using various materials. Do not be put off because you don’t have the same materials as I used in the guide. The most important things to remember are the slender body and heavy bead. This fly is designed to get down quickly.
I hope that you guys enjoyed the article. Please share it with your fly fishing and tying friends. Leave any comments or questions at the bottom of the page.
Amazon and the Amazon logo are trademarks of Amazon.com, Inc, or its affiliates.
As a part of the Amazon Associates Program and other affiliate programs, Into Fly Fishing® may receive a comission if you order products through links on this website.


