As an Amazon Associate I earn from qualifying purchases.
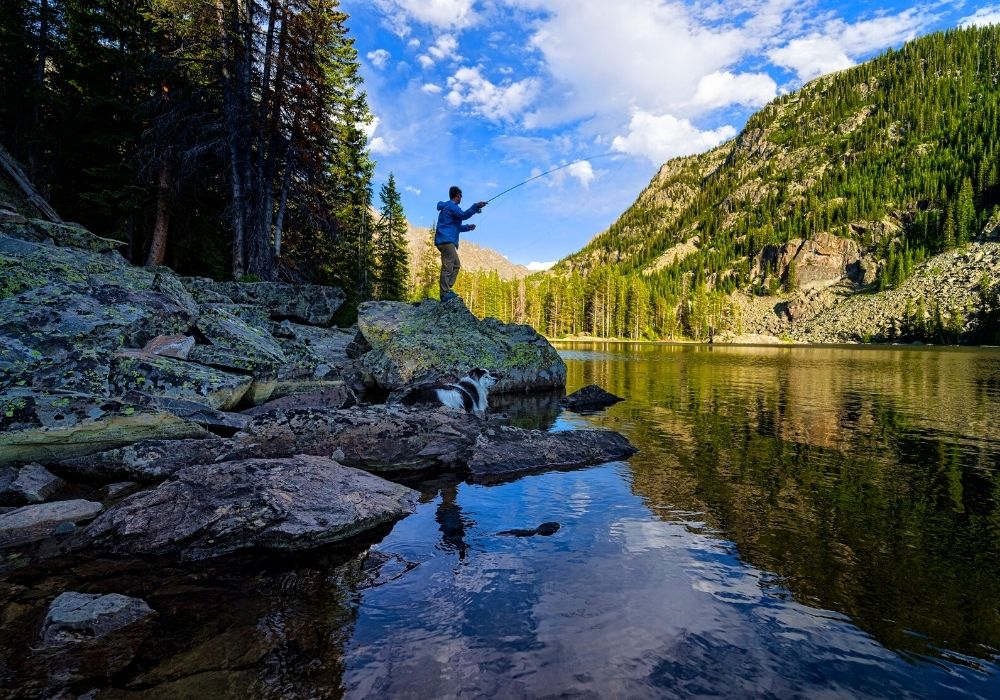
If you’re looking for an effective scud or sow bug pattern, look no further. In this fly tying guide, I’ll show you how to tie one of the most effective and easy-to-tie scud patterns around, the Ray Charles.
As a part of the Amazon Associates Program and other affiliate programs, Into Fly Fishing® may receive a comission if you order products through links on this website.
Quick Look
- Difficulty level: Moderate
- Tying time: 5 minutes
- Materials: Hook, thread, scud-back material, ostrich herl, UV resin
- Hook: Size 12-18 scud
What Is a Ray Charles?
The Ray Charles fly may imitate sow bugs or scuds, depending on the size and color you tie them in. In some of our local rivers here in South Africa, you frequently find a semi-translucent white scud that lives around aquatic vegetation.

The Ray Charles is a perfect imitation of these freshwater crustaceans.
Watch the How to Tie a Ray Charles Fly Video

How to Fish a Ray Charles
The Ray Charles may be fished both on rivers and lakes. You can use the fly in the same way you’d use a nymph in any of these situations, but here are some of my favorite techniques.
On lakes, I love fishing the Ray Charles, using a version tied in a more olive color than what we have here in the tying guide. I use an intermediate line and work the fly slowly around any aquatic vegetation. The same technique may be used in slower moving rivers.
On faster river sections, you may use the Ray Charles in standard nymphing rigs or below a dry fly.
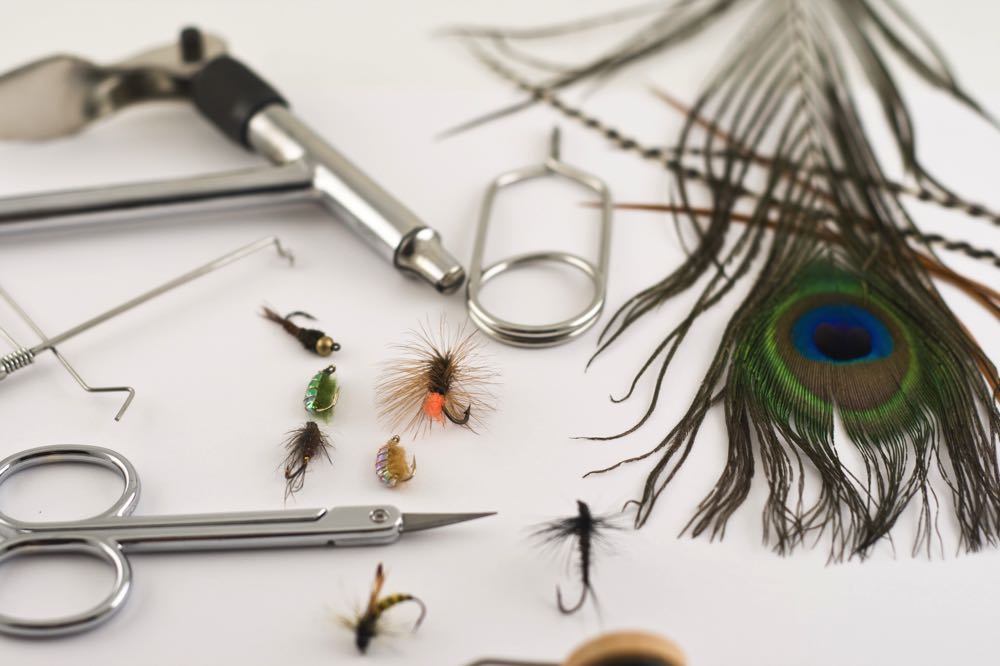
Materials You’ll Need to Tie a Ray Charles
You’ll need the following materials to tie a Ray Charles:
Hook
A dependable and strong scud hook is the order of the day. I always prefer using barbless hooks as they come out easily when your client hooks you in the ear and, more importantly, they’re easier on a fish’s mouth. As a bonus, a barbless hook also penetrates quicker and deeper than its barbed counterparts.
I recommend you go for this option when buying your next batch of hooks.
Thread
Any thread in the 140-70 Denier range will work. You’ll notice in the tying guide below that I use a fluorescent orange thread. This is not just a flashy thread for the camera, but the orange underbody can be seen once the white ostrich herl is wet.
As in most cases, the color of the thread is up to you.
Scud Back Material
Any flat, shiny, and semi-translucent material may be used. I cut mine to about 1/8″ wide, which suits most fly sizes. If you don’t have dedicated scud back material, a good option is a thin piece of sweet wrapper.
Ostrich Herl
Ostrich herl is such an underutilized material. It’s soft, has incredible movement, and is relatively cheap. The entire body is formed by wrapping a single ostrich herl fiber around the shank.

UV Resin (Optional)
If you’ve done your research online, you’ll notice that most Ray Charles patterns don’t include UV resin over the shellback. I like using it as it creates that opaque look that you find in scuds. It also makes the fly more durable.
Tools Needed to Tie a Ray Charles
You’ll need the following tools to tie a Ray Charles:
- Vise
- Bobbin holder for the thread
- Whip finishing tool
- Scissors
- Bodkin
- UV Torch
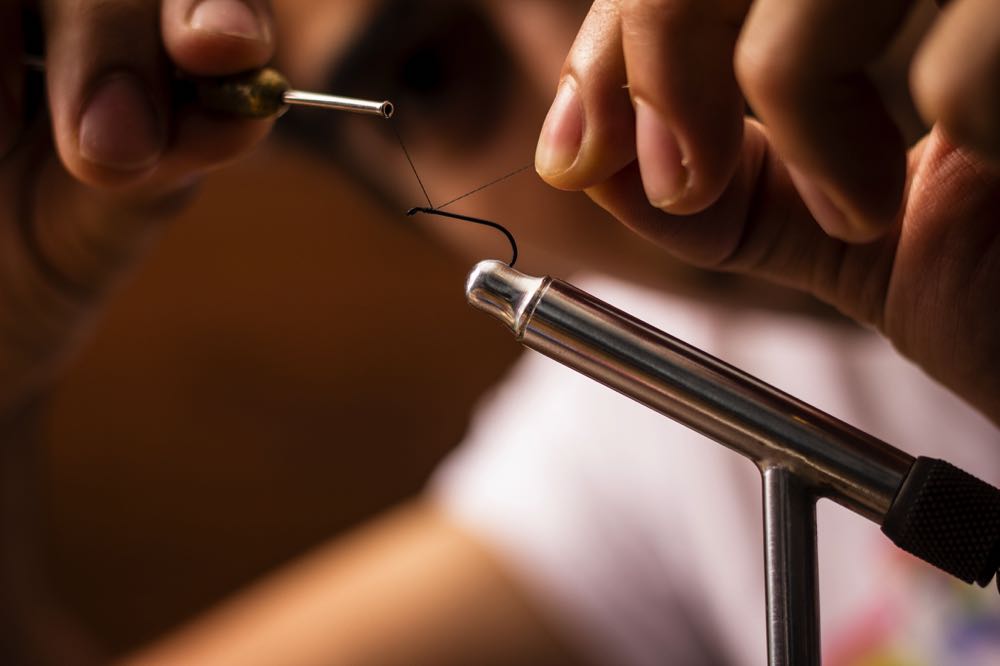
Step-by-Step Guide to Tie a Ray Charles
Now that you know what materials and tools you need for the Ray Charles, let’s see exactly how to tie my variation.
Ray Charles Recipe
The specific materials I use are:
- Hook: Mouche 8430 size 14
- Thread: Danville’s 70 Denier Flymaster 6/0 Flat Waxed Fluorescent Orange
- Body: White dyed ostrich herl
- Flashback: Hends Shellback White (color code 01)
- Solarez UV Resin
Step 1: Secure the Hook in the Vise
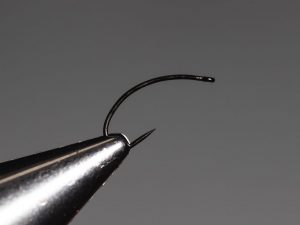 Place the hook between the jaws of the vise and flip the cam lever to secure it in place. What you’re looking for is three things:
- The hook point and barb (if using a barbed hook) should be visible
- The hook eye must be level to prevent the thread from slipping off when you’re whip finishing the fly
- The hook is secured properly to prevent it from coming loose while tying
Step 2: Attach the Thread
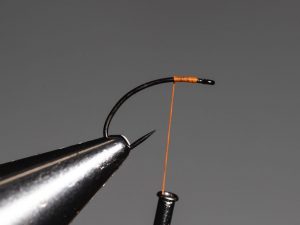 Attach the thread just behind the hook’s eye and secure it in place with 5-6 wraps. Cut off the excess.
Step 3: Lay a Thread Foundation
 Open the thread by spinning the bobbin holder anti-clockwise until you can see the thread is flat.
Wrap the thread rearwards, with touching turns, until you reach a point where, if the thread hangs free, it hangs on the inside of the most rearward point of the hook.
Step 4: Tie In the Scudback Material
 Tie in a 1″ section of the scud back material and clean up the tying-in point.
Step 5: Prepare the Ostrich Herl
 Cut a single ostrich herl fiber from the feather. Just like you’d do with a hackle, pull off the soft fibers at the base and clean up the first 1/4″ of the stem so that you have something to tie it in with.
Step 6: Tie In the Ostrich Herl
 Tie the ostrich herl in at the base of the scud back material. Then, cut off the excess fiber and run the thread all the way forward, just behind the hook eye.
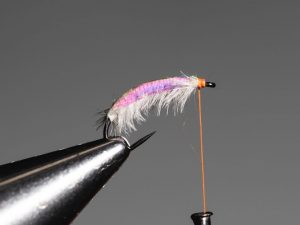
Step 7: Wrap the Body
 Wrap the ostrich herl with touching turns forward in the same direction as the thread.
Secure it with your tying thread and trim off the excess.
Step 8: Part the Ostrich Fibers
 Wet your thumb and index finger and stroke the ostrich herl fibers downward.
Step 9: Pull Over the Scud Back Material
 Pull the scud back material forward over the top of the fly. Secure with tying thread. Then, fold the scud back backward and secure again.
This foldover technique makes for a much more durable fly, and it ensures a clean hook eye. Trim off the excess.
Step 10: Whip Finish
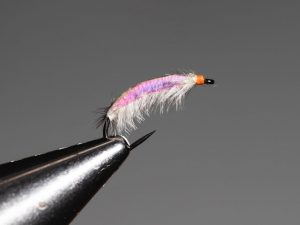 Whip finish the fly and cut off the thread.
Step 11: Apply the UV Resin
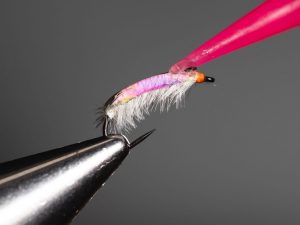 Apply a liberal amount of UV resin over the entire back of the fly, covering all of the scud back material. Also, remember to get some of that resin around the head of the fly.
A bodkin works well to help you spread the resin around a bit before curing it.
Step 12: Cure the UV Resin
 Turn the fly around so that the back is facing downward. This technique prevents the resin from flowing into the ostrich herl.
Cure the UV resin with a UV torch.
That’s How to Tie a Ray Charles
And as you can see, the Ray Charles is quick and easy to tie, and it looks super fishy. I hope that you found this tying guide helpful.
If so, I’d appreciate it if you’d share it with your fellow anglers and friends. Also, leave any comments or questions at the bottom of the page.
Until next time.
Amazon and the Amazon logo are trademarks of Amazon.com, Inc, or its affiliates.


