As an Amazon Associate I earn from qualifying purchases.
This article will teach you how to successfully tie a Klinkhammer. For many tiers, including myself, it’s one of the first parachute hackled flies you’ll learn to tie. This is an incredibly versatile fly that can be tied in various colors and sizes to imitate a wide range of insects.
My first smallmouth yellowfish caught on dry fly was on a Klinkhammer. The fish were feeding profusely on small black midges during the last light of the day. I turned to a black size 18 Klinkhammer that, on the first cast, got the eat.
Since then I’ve always dedicated a row in my fly box to Klinkhammers. I’ve also found it indispensable in a dry and dropper rig here in the trout streams of Cape Town.
Quick Look
- Difficulty Level: Moderate
- Tying Time: 5 minutes
- Materials: Hook, thread, poly yarn, dubbing wax, poly dubbing, ribbing, hackle, head cement, floatant.
- Hook Size: 10 – 18
What Is A Klinkhammer?
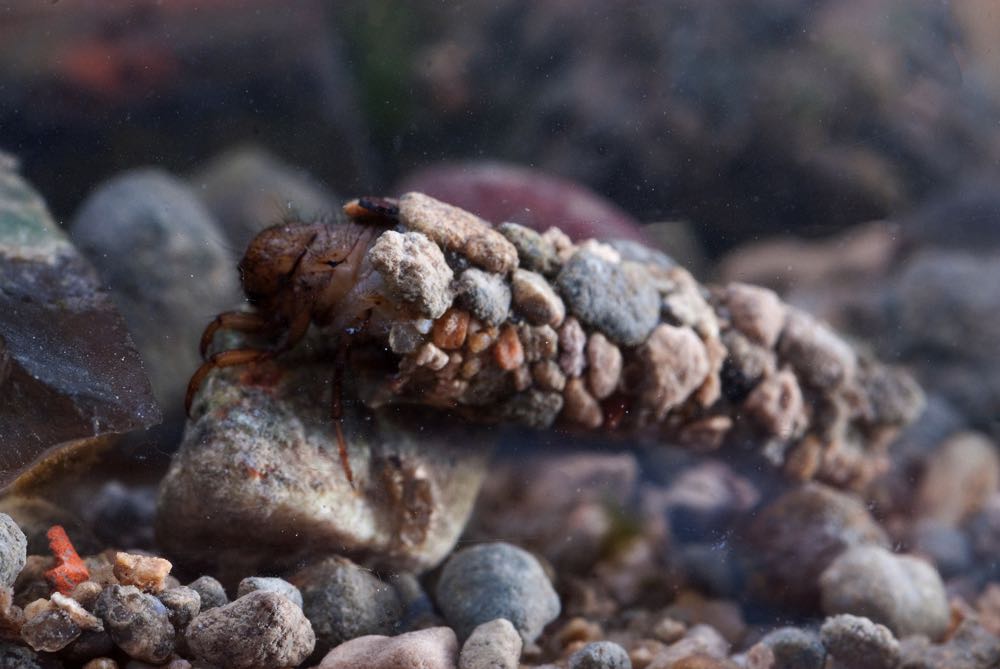
The Klinkhammer was designed by the popular Dutch fly tier Hans Van Klinken in the 1980s. Originally it was developed to imitate an emerging caddis fly. The parachute hackle and post create a large footprint while leaving the abdomen and thorax suspended under the surface.
Klinkhammers can be tied with various materials and colors. Similar to all legendary patterns, the Klinkhammer has become a style of tying rather than a fixed recipe.
How To Fish A Klinkhammer
A Klinkhammer is a dry fly. Before using it, make sure that it is proofed well by coating the post and hackle with a floatant. Floatants that I recommend are:
- Loon Outdoors Royal Gel (before using the fly)
- Loon Outdoors Top Ride (to dry flies that have been used)
- Loon Outdoors Aquel
- Dilly Wax
You can fish the Klinkhammer as a single dry fly, usually on a relatively long leader. The fly is cast out and dead drifted down a stream or in a lake. Another very effective method is to use the Klinkhammer in a dry-dropper rig. That means there is a nymph suspended below the dry fly.
Materials You’ll Need To Tie A Klinkhammer
The following materials are needed to tie a Klinkhammer:
Hook
Many brands offer hooks specifically designed for Klinkhammers.
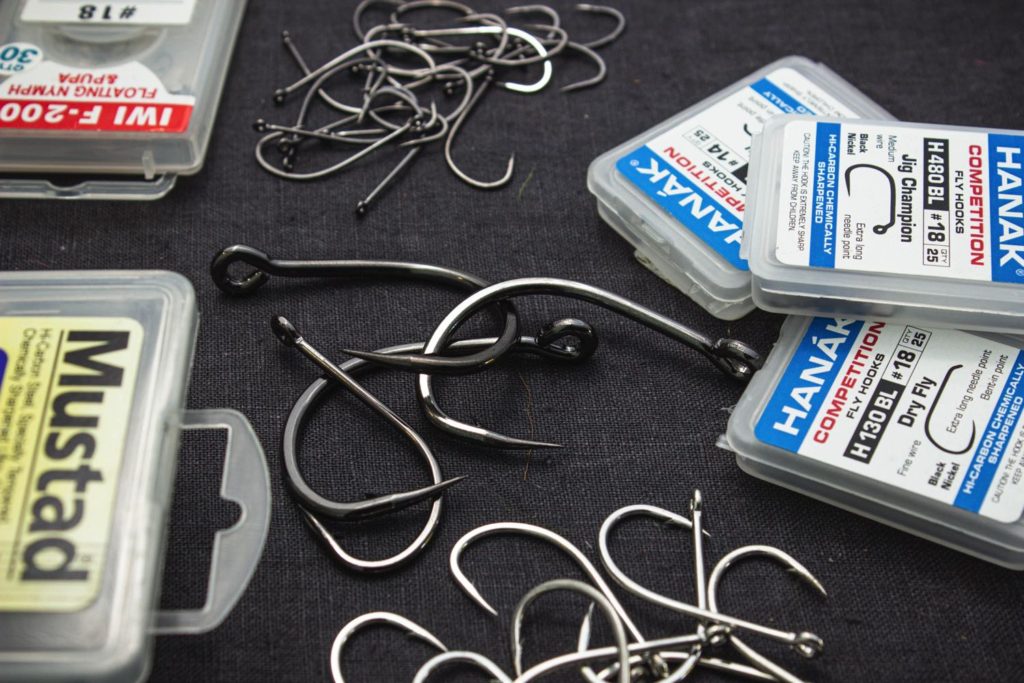
I recommend any of the following:
Thread
Use a fine thread suitable for dry flies. Match the color of the thread to that of the fly. The thread that I can recommend include:
Recommended 32 Denier or 16/0 Fly Tying Thread:
→ Veevus 16/0 Fly Tying Thread – Assorted Colors
Poly Yarn
To stay true to the original fly, poly yarn is used for the post. This material has a high absorption rate. This means that you can treat it thoroughly with floatant. If you can’t get hold of poly yarn, you can use Antron yarn as a substitute.
Recommended Yarn:
→ 8 Colors/Floating Yarn Bundle
Dubbing Wax
The dubbing wax is used to coat the thread before dubbing is applied to it. The wax ensures that the material sticks and enables the tier to form a slender dubbing noodle.
Recommended Dubbing Wax:
→ Loon Outdoors Swax High Tack Dubbing Wax
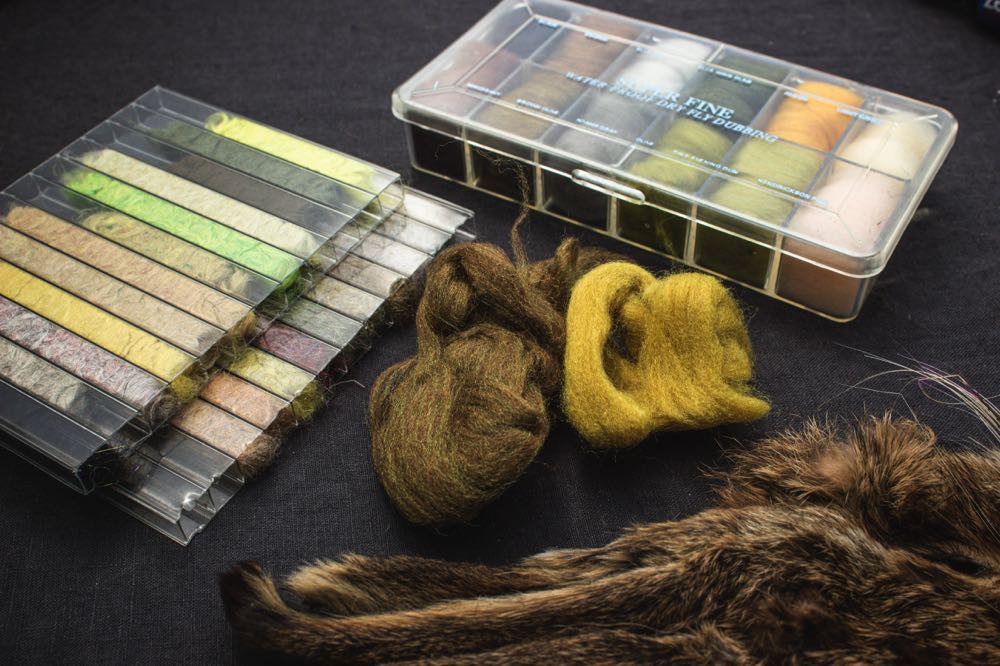
Poly Dubbing
A fine poly dubbing (dubbing made from polypropylene fibers) is used for the abdomen and thorax of the fly. FlyRite was used on the original fly and still offers amazing color combinations. As an alternative, any fine dry fly dubbing will suffice.
Recommended Dubbing Material:
→ Hareline Ice Dub – Dispenser W/ 12 Popular Colors
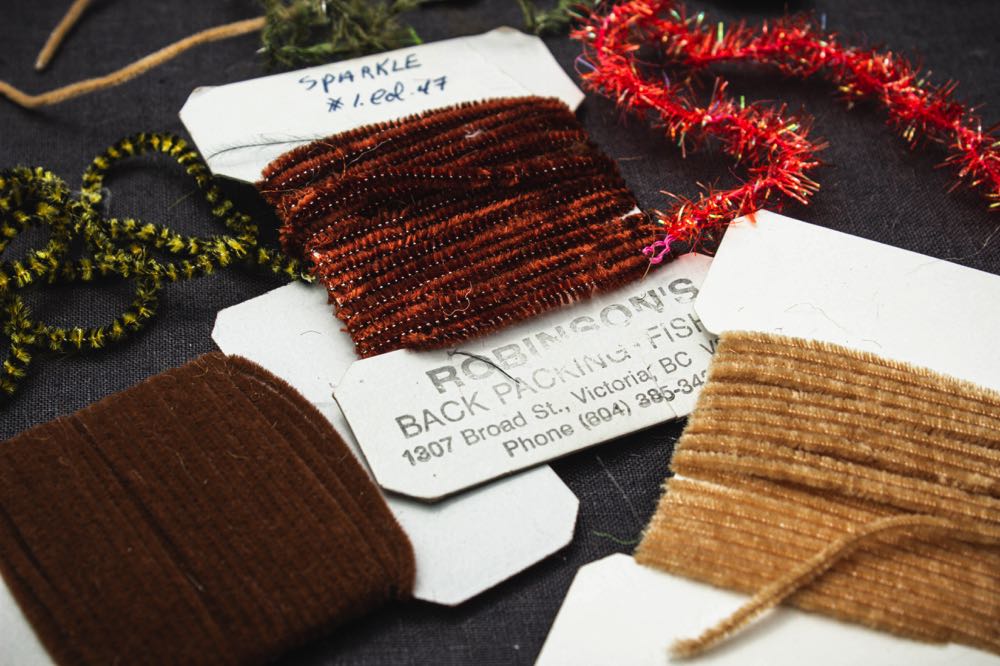
Ribbing
You can choose to add ribbing to the abdomen or completely leave it out. Any fine and lightweight ribbing material can be used, such as:
- Fine wire
- Flash
- Small diameter V-rib
Recommended Flash Material:
→ Phecda Sport 10 Pack Colorful Fly Tying Flash
Hackle
Any good quality hackle suited to the size of the fly can be used.
Good brands to look out for include:
- Metz
- Whiting
- Sideling hackle
Recommended Hackle:
→ Introductory Hackle Pack – 4 Assorted
Head Cement
The head cement is used to seal the whip finish on the fly. You can make use of your preferred brand.

Recommended Head Cement:
→ Loon Outdoors Water Based Head Cement System
Floatant
Make sure to properly proof the fly with floatant before using it. This will enable the fly to ride high in the water cast after cast preventing the absorption of water.
Recommended Floatant:
→ Gehrke’s Gink Floatant
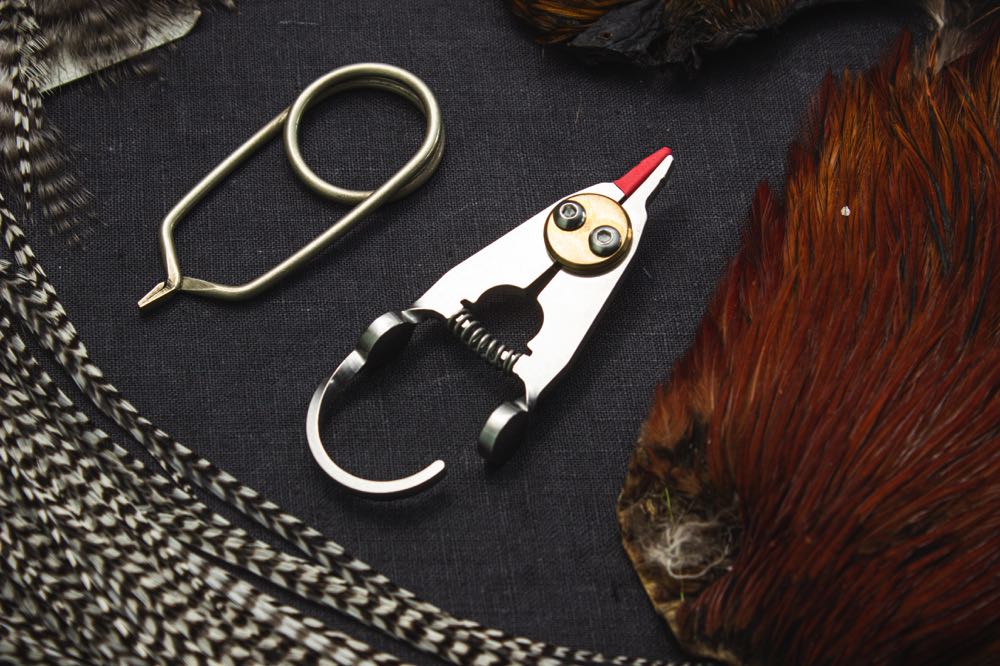
Tools Needed To Tie A Klinkhammer
You’ll need the following tools to tie a Klinkhammer:

Let’s Get Started!
How To Tie a Klinkhammer
Follow the step-by-step procedure below to learn how to tie a Klinkhammer. I’ll describe it as clearly as possible, but I recommend checking out the video as it’s much easier to follow than photos and descriptions of each step.
Klinkhammer Recipe
- Hook: Mouche 8430 size 12
- Thread: Griffth’s Sheer 14/0 white
- Poly yarn: White poly yarn
- Dubbing wax: Loon Outdoors Low Stacx Wax
- Poly dubbing: Caddis green
- Ribbing: Krystal Flash
- Hackle: Badger cock neck hackle
- Head cement: Loon Outdoors Water Based Head Cement
- Floatant: Dilly Wax
Step 1: Place The Hook in The Vise
Select the chosen hook from the packet and secure it in the vise. The hook point and barb should be exposed.
Also, make sure that the hook eye is straight enough that you will be able to whip finish the fly without causing the thread to slip off.

Step 2: Lock in The Thread
Lock the thread in place about 1/3 of the hook shank length behind the eye of the hook. You do this by holding the tag end with your left hand and wrapping the thread over the shank.
Once you’ve made 5 wraps run the thread over itself to lock it in place. Cut off the excess thread.

Step 3: Lay a Thread Foundation
Run the thread forward with touching turns to just behind the hook eye. Now run the thread rearward with touching turns.
Stop the thread at the point where the thread, if left hanging freely, hangs just on the inside of the hook bend.

Step 4: Tie in The Poly Yarn Post
Run the thread forward and stop about ¼ of the thread foundation length behind the hook eye. Cut about 4 inches of your desired poly yarn.
Place the material on top of the hook shank and secure with two or three pinch wraps.

Step 5: Form The Post
Lift the front section of the poly yarn and make securing wraps in front of the tying in point to make the post stand up.
Hold the post up and wrap the thread around the post in an upward direction. This will form the base for the parachute hackle that will be tied in later. Move the thread to the base of the post.

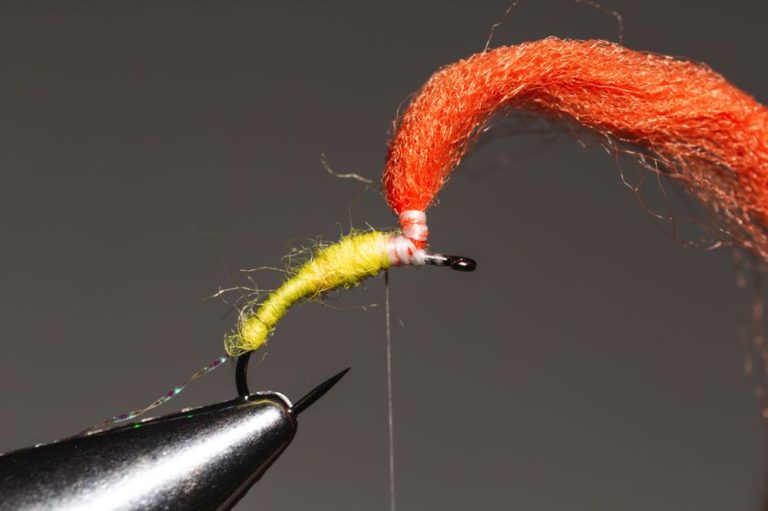
Step 6: Trim The Excess Poly Yarn
Pull the rearward-facing poly yarn section tight and make a tapered cut with a pair of sharp scissors.
This will create the base for the tapered abdomen.

Step 7: Taper The Body
With touching wraps, cover the tapered poly yarn to form the tapered abdomen for the fly. It’s not 100% necessary to cover all the exposed material.
The dubbing will take care of that. Run the thread back up to the base of the post.

Step 8: Tie in The Ribbing Material (Optional)
Tie in the tip of your desired ribbing material and cut off any excess.
Wrap the thread back to secure the ribbing until you reach the end of the thread foundation.

Step 9: Dub The Abdomen
Add a light coating of dubbing wax to the thread. Take a small amount of dubbing and twist it against the thread to form a long slender dubbing noodle.
Wrap the noodle forward with touching turns covering any exposed material. Stop, leaving a small gap behind the post.
Step 10: Rib The Abdomen
Wrap the ribbing in the opposite direction than the dubbing.
Form evenly spaced segments until you reach the end of the dubbed abdomen.

Step 11: Prepare The Hackle
Select a hackle feather that suites the fly’s size. Remove any off-colored and soft fibers from the base of the feather.
Pull all the fibers so they stand perpendicular to the stem. Remove a small amount of the fibers on the front of the stem the same length as the thread section on the post.

Step 12: Tie in The Hackle
Place the feather against the post, bright side of the feather facing inwards.
The tip of the feather should point downwards, and the first hackle fibers should start at the top of the thread base on the post. Once secure, cut off the excess tip.

Step 13: Dub The Thorax
Apply a thin coating of dubbing wax to the thread. Form a noodle with your chosen dubbing and dub the thorax.
Cover the area from where the abdomen stopped, making figure-of-eight wraps around the post base. Stop the dubbing just behind the hook eye leaving space for a thread head.

Step 14: Finish The First Part of The Fly
Pull back any forward-facing fibers and create a small head for the fly.
Whip finish twice and cut off the thread. Apply a thin coating of head cement making sure the hook eye is cleaned up.

Step 15: Turn The Fly
Remove the fly from the jaws of the vise and turn it 90-degrees forward.
Lock it in place with the post in the horizontal plane.

Step 16: Lock The Thread in Place
Lock the thread in place at the base of the post (where you already laid a thread foundation).
Make a couple of wraps over the thread then cut off the excess tag end.

Step 17: Wrap The Hackle Around The Post
Pull the post tight. Wrap the hackle around the post in a rearward direction making sure not to trap any fibers.
Once you reach the base of the post secure the hackle with two or three thread wraps. Carefully cut off the excess hackle material.
Step 18: Trim The Post
Pull the post tight and, using a pair of sharp scissors, cut the post off just above the hackle.
It’s good to have a post that’s about an eighth of an inch long for this fly, like that in the photo to the right.

Step 19: Finish The Fly
Whip finish the fly slowly paying special care not to trap any fibers. After two whip finishes pull the knot tight and carefully cut off the thread.
We have a detailed video and post about how to whip finish a fly if you want to learn, or need a refresher.

Step 20: Apply Floatant
Rub some floatant between your thumb and forefinger and work it into the post and hackle.
It’s also a good idea to apply some more floatant just before using the fly to ensure it sits nicely on top of the water.

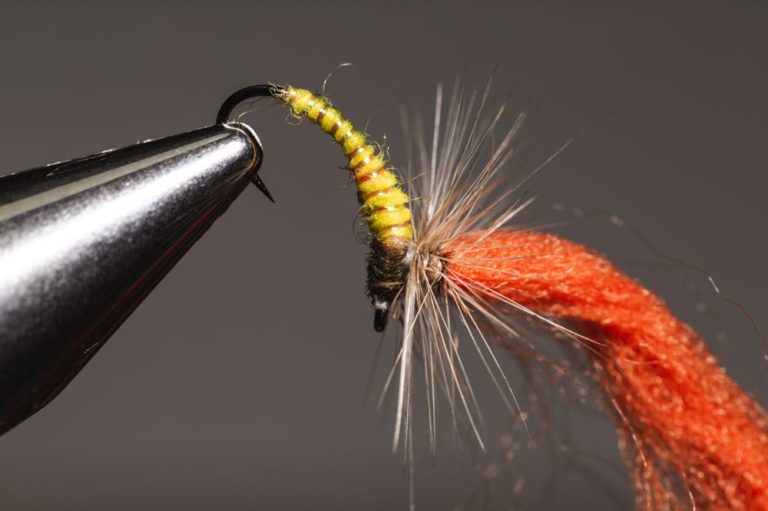
The Klinkhammer

Now You Know
How To Tie a Klinkhammer
Of all the parachute styled dry flies out there, the Klinkhammer is my favorite. I believe the key to its success is that it covers both the emerger and adult form of an insect. Once you start tying and fishing the Klinkhammer it will soon find a row dedicated in your box as well.
Please leave any comments or questions at the bottom of the page. See each other again later.
Like This Article? Pin it!


Amazon and the Amazon logo are trademarks of Amazon.com, Inc, or its affiliates.
As a part of the Amazon Associates Program and other affiliate programs, Into Fly Fishing® may receive a comission if you order products through links on this website.


