As an Amazon Associate I earn from qualifying purchases.
Quick Answer: Double 6 inches of line through the hook eye, tie a loose overhand knot in the doubled section, pass the hook through the loop, wet the knot, and pull both ends tight. The Palomar knot tests at 95 to near-100 percent of line strength and takes under 20 seconds once you know the motion.
The Palomar knot is the one I recommend to anyone just getting into fly fishing, and it’s also the one I still use when I need a connection I can trust with braided backing. It’s that reliable across the board.
Most knots you’ll learn as a fly angler are about light tippet and tiny flies. The Palomar is different. It shines on thicker materials, braided line especially, and the steps are simple enough that you can tie it in low light without second-guessing yourself. I’ve used it to connect backing to my reel arbor, clip on heavy shock tippet in saltwater setups, and attach flies in situations where I needed speed over ceremony.
Five steps. Under 20 seconds. One of the strongest connections you can make. Here’s how to tie it.
What Is the Palomar Knot?
The Palomar knot is a terminal knot used to attach a line to a hook, lure, or swivel. It works by looping the line through the hook eye twice, creating a doubled section that wraps around the hook on its way to the final cinch. That doubled geometry is what makes it strong. The load spreads across both strands rather than concentrating in one wrapping sequence.
Strength tests place it consistently between 95 and near-100 percent of the line’s rated breaking strength. The knot itself almost never fails before the line does, which is the best outcome you can ask for in any connection.
It’s one of the most widely used fishing knots in the world. If you fish any kind of tackle, the Palomar belongs in your kit. Our fly fishing knots guide covers the full set of connections you’ll need from backing to fly, and the Palomar covers a specific and important part of that chain.
When to Use the Palomar Knot in Fly Fishing
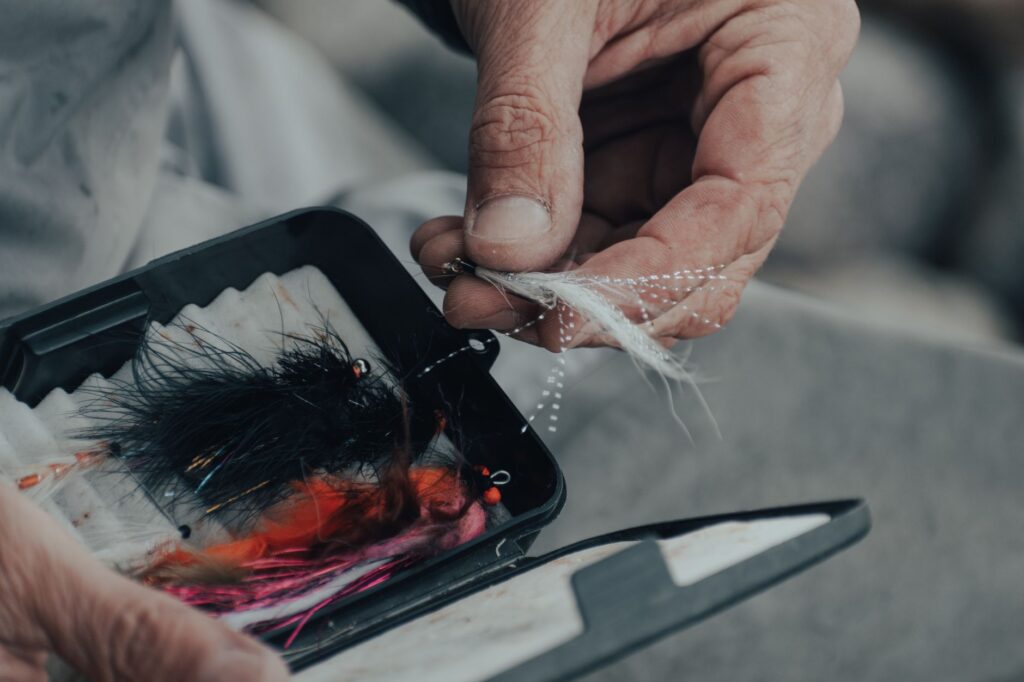
Fly anglers don’t reach for the Palomar as often as conventional fishermen, but there are several situations where it’s the right call.
- Braided backing to hook or swivel. The Palomar is one of the few knots that holds reliably in braided line without needing extra wraps or a finishing hitch. Most other terminal knots slip or cut into themselves on braid.
- Saltwater fly fishing with heavy wire hooks. When I’m fishing large streamer patterns or saltwater flies with thick hook eyes, the doubled-line entry of the Palomar seats cleaner and faster than the improved clinch.
- Attaching a swivel to your leader system. If you’re using a snap swivel for a streamer or sink-tip setup, the Palomar makes a strong, fast connection to monofilament or fluorocarbon.
- Teaching a beginner their first terminal knot. The steps are consistent, the motion is easy to learn, and there’s very little that can go wrong once you’ve done it three times.
For tippet-to-fly connections on light trout setups, the Orvis knot or tippet-matched options like the Davy knot often work better because the hook eye can be too small to pass a doubled loop through cleanly on sizes 18 and smaller. Use the Palomar where the hook eye gives you room.

What You’ll Need
There’s nothing complicated about the gear list:
- Your line: monofilament, fluorocarbon, or braided, depending on the application
- The hook, fly, or swivel you’re attaching
- A pair of nippers to trim the tag end
- Saliva or water to lubricate before cinching
Line diameter matters for this knot. It’s easiest to tie on lines from 6-pound test up through heavier backing and leader material. On very fine fluorocarbon, say 5X or 6X tippet, the doubled loop becomes hard to manage with most hook sizes. That’s when you switch to a lighter-duty terminal knot.
If you’re building a complete fly fishing system, our best fly lines guide covers what lines and backing setups work best for different situations, including how much backing you actually need on a typical trout or saltwater reel.
How to Tie the Palomar Knot: Step-by-Step
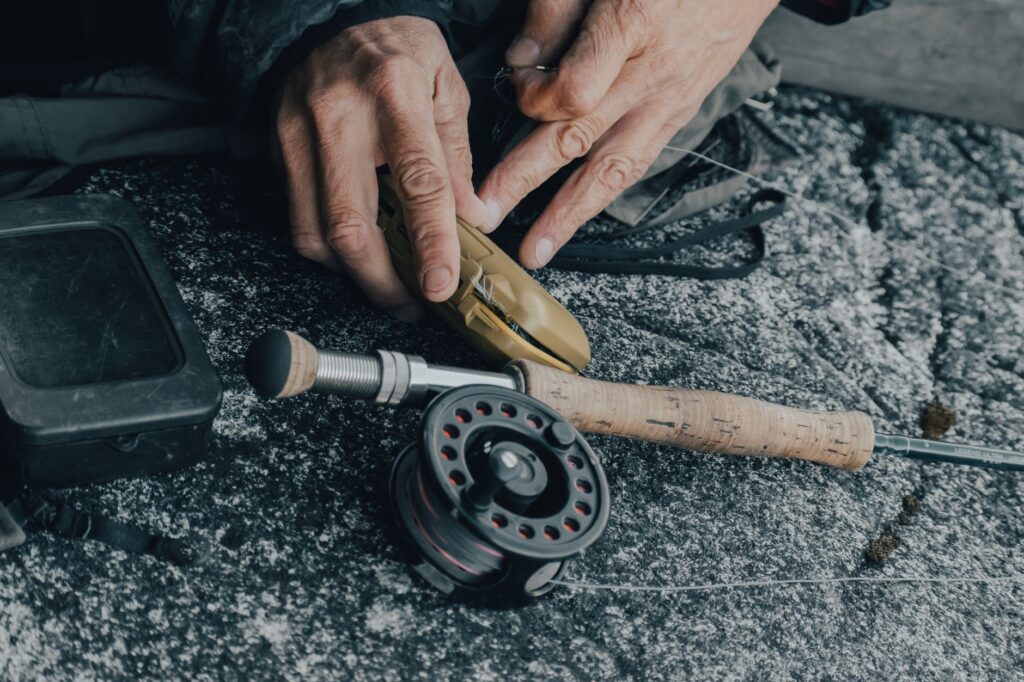
Work through these steps a few times on the bench before you try it streamside. The motion clicks fast.
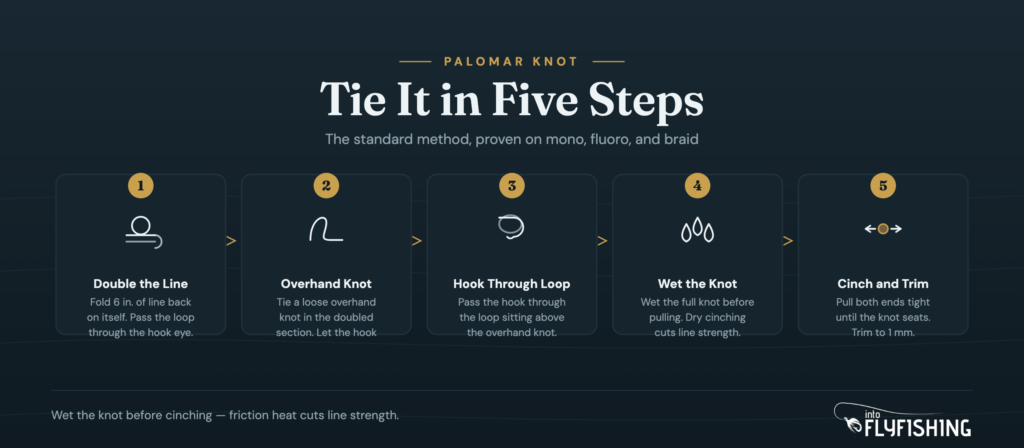
Step 1: Double the Line Through the Hook Eye
Pull about 6 inches of line off your spool. Fold those 6 inches back on itself so you have a doubled section roughly 3 inches long.
Pass that doubled loop through the hook eye. Push it from below the eye up and through, then pull until you have about 3 to 4 inches of the doubled loop beyond the eye. Hold the hook in one hand and keep the doubled loop loose. Don’t let it collapse.
This is where the knot earns its strength. The doubled entry through the eye spreads the load across two strands instead of one. Don’t skip the full 3-inch loop even if it feels like too much material. You need the room to work in the next step.
Step 2: Tie a Loose Overhand Knot
Using the doubled loop you just pushed through, tie a simple overhand knot. Cross the loop over the standing line, bring it back under, and pass it through the crossing point. Same motion as any basic knot.
Keep this overhand knot loose. You need the hook to hang freely below the loop when you’re done. Let it drop. If you’ve tied this step correctly, you’ll have the hook hanging through a big, open overhand knot with a loop sitting above it.
Don’t tighten anything yet. The next step won’t work if the loop is collapsed.
Step 3: Pass the Hook Through the Loop
Take the hook and pass it through the loop above the overhand knot. The loop sits open above the knot. You’re simply dropping the hook, or the entire lure, swivel, or fly, down through that opening.
Once the hook is through, the tag end and the standing line should both exit the eye in the same direction, with the overhand knot sitting above the hook eye and the loop now wrapped around the hook shank.
Take a moment before the next step to make sure the overhand knot isn’t twisted. The knot should sit clean, with the loop lying flat around the shank. Any twist here will create an uneven cinch.
Step 4: Wet the Knot
Before you pull anything tight, wet the knot. Saliva works fine. A dip in the river or a drop of water from your water bottle works too.
Dry monofilament and fluorocarbon generate friction heat as the knot cinches. That heat weakens the line at the knot, sometimes enough to drop the breaking strength by 20 to 30 percent. Wet the material first and it slides into place cleanly instead of burning through the cinch.
This step applies to every knot you tie, not just the Palomar. Make it automatic.
Step 5: Cinch and Trim
Hold the hook in one hand and pull both the standing line and the tag end simultaneously with a smooth, steady pull. The overhand knot will slide toward the hook eye and compress against it.
Pull until the knot seats completely against the eye. You’ll feel it stop. Give it one more firm pull to confirm it’s tight. The finished knot should look like a small, neat lump sitting flush against the hook eye with the tag end pointing away cleanly.
Trim the tag end close, leaving about a millimeter. Flush-trimming can let the tag work back through the knot under repeated casts or when a fish runs hard.
If the knot looks uneven or the tag end exits at an odd angle, cut it and start over. A sloppy Palomar is still a weak Palomar.
Tying the Palomar Knot on Braided Line
Braided line is where the Palomar stands clearly above most other terminal knots. Braid is slippery in a way that standard mono knots can’t hold. A clinch knot can slip entirely under load on braid without any warning. The Palomar’s doubled geometry locks down on braid where other knots fail.
The tying process is identical on braid, but a couple of adjustments help:
- Double the loop at least twice through the hook eye. Pass the doubled loop through once, then back through again before tying the overhand knot. The extra pass adds friction on a slippery surface.
- Wet it twice. Braid generates more heat on cinch than mono. Two applications of moisture before pulling tight prevents cutting into the fibers.
- Pull slowly. Braid compresses fast. A sharp jerk can cause the doubled loop to pinch unevenly before it fully seats.
If you’re connecting backing to a reel or building a system where braided line meets heavier mono leaders, the uni knot is another option that handles braid reliably for line-to-line connections. The Palomar handles the terminal end: hook, swivel, or lure, where it’s strongest.
Common Mistakes
The Palomar has fewer failure modes than most knots, but a few errors come up regularly:
- Tightening before wetting. The most common mistake. Dry cinching generates heat and cuts tippet strength. Always wet first.
- A collapsed loop in Step 1. If you pull the doubled loop too short, there’s not enough room to tie the overhand knot and pass the hook cleanly. Keep at least 3 inches of loop beyond the hook eye.
- Twisting the overhand knot. The overhand knot needs to lie flat so the loop drops around the shank without a twist. A twisted overhand creates an uneven cinch and a lopsided knot that fails under lateral load.
- Pulling only the standing line to cinch. You need to pull both ends simultaneously. Pulling only the standing line can cause the loop to seat unevenly.
- Using it on tiny hook eyes. On small fly hooks, particularly sizes 18 and under, the doubled loop often won’t fit through the eye cleanly. That’s not user error. It’s the wrong knot for the job.
Palomar Knot vs. Improved Clinch Knot
These two knots cover the same job of attaching a line to a hook, but they do it differently, and each has a specific edge.
The improved clinch knot uses a single line through the eye, wrapped 5 to 7 times around the standing line, then threaded back through a loop and back again. It’s faster to tie in most situations because there’s no step where you’re managing a big doubled loop. On small hook eyes, it’s often the only option.

The Palomar has a higher average knot strength and works better on braided line. On monofilament and fluorocarbon, the difference in strength between a well-tied Palomar and a well-tied improved clinch is small enough that it’s mostly academic. The Palomar wins on braid, the improved clinch wins on small flies.
I use the improved clinch for nymphs and dry flies on standard trout hooks. I reach for the Palomar when I’m on braid, connecting swivels, or rigging saltwater patterns with large, wide-gap hooks where the doubled loop slides through easily.
| Feature | Palomar Knot | Improved Clinch Knot |
|---|---|---|
| Strength | 95-100% of line strength | 90-95% of line strength |
| Braided line | Excellent | Can slip without modification |
| Small hook eyes (size 18+) | Difficult | No problem |
| Speed to tie | Moderate | Fast |
| Steps | 5 | 5-6 |
| Best for | Braid, swivels, saltwater | Light trout tippet, small flies |
| Reversible | No | No |
FAQ
Double 6 inches of line and pass the loop through the hook eye. Tie a loose overhand knot in the doubled section, letting the hook hang below. Pass the hook through the loop above the overhand knot. Wet the knot, then pull both the standing line and tag end simultaneously until the knot seats against the eye. Trim the tag end close.
The main drawback is that you need to pass the entire hook, lure, or swivel through the loop in Step 3. That’s not possible on lures with multiple treble hooks, large surface baits, or very small hook eyes where a doubled loop won’t fit. For those applications, a single-strand knot like the improved clinch is more practical.
For terminal connections on medium to heavy line and any application on braided line, it’s among the best available. It’s not the right knot for every situation. For tippet-to-fly connections on small trout hooks, the Davy knot or the Orvis knot are better fits. For connecting tippet to a leader, the surgeon’s knot is what most fly anglers use. The Palomar is the best at what it does, not the best at everything.
Yes, and braided line is one of the Palomar’s best applications. Pass the doubled loop through the hook eye twice before tying the overhand knot to add friction on the slippery braided surface. Wet the knot carefully before cinching. Braid generates heat faster than mono. The Palomar holds more reliably on braid than an improved clinch, which can slip on slick braided fibers under load.
One Knot in a Bigger System
The Palomar handles the terminal end of your rig, and it does that job as well as any knot you’ll find. But it’s one connection in a chain that runs from the reel to the fly, and the rest of that chain matters too.
The fly line and backing you choose determines how much load ever reaches your terminal knot. A mismatched setup puts more stress on every connection, including the best-tied Palomar you can produce. Get the full system dialed, and the knot is just the last reliable piece.
Every other connection in the chain: backing to arbor, fly line to backing, leader to fly line, tippet to leader, is covered in our full knot library. Start there if you’re building a system from the ground up.
Amazon and the Amazon logo are trademarks of Amazon.com, Inc, or its affiliates.
As a part of the Amazon Associates Program and other affiliate programs, Into Fly Fishing® may receive a comission if you order products through links on this website.