As an Amazon Associate I earn from qualifying purchases.
Knots are the least glamorous part of fly fishing, and they decide more fish than the rod does. Casting gets all the attention. The knot is what’s actually holding on when something good eats.
I learned that the slow way. When I started fly fishing in college I could throw a decent loop inside of a month, but I lost fish for a full season because my tippet knots were seating wrong. Nobody had ever shown me. I just cranked them down dry and hoped.
This guide is the one I wish somebody had handed me. Twelve knots, organized by the connection they belong to, in the same order your rig is built. You do not need all twelve on day one. Learn five of them well and you can rig up anywhere in the world.
Quick answer: A fly rig has five connections, and one knot covers each of them. Arbor knot for reel to backing, Albright for backing to fly line, nail knot or a loop-to-loop for line to leader, double surgeon’s for leader to tippet, and improved clinch for tippet to fly. Learn those five and you can fish anywhere. The other seven in this guide are the upgrades.
The 5 Connections in Every Fly Rig
Every fly rig, from a bluegill pond setup to a saltwater outfit, is the same chain: reel to backing, backing to fly line, fly line to leader, leader to tippet, and tippet to fly. Five junctions. That’s the whole system.
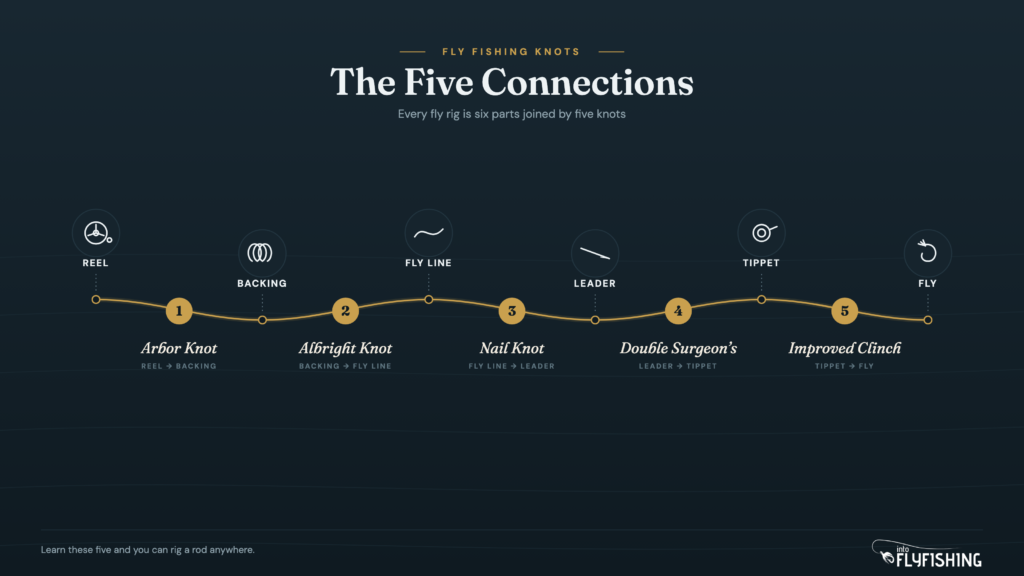
Think in junctions instead of memorizing a pile of knot names and the whole thing gets simple. You need one reliable knot per junction. Everything past that is a backup or an upgrade for a specific job, like a loop knot that lets a streamer swim. If you’re still spooling up, my walkthrough on setting up a fly reel covers where the backing and line go in the first place.
The first two connections get tied once a season at most. The last two you’ll tie on the water, sometimes with cold hands, so those are the ones to practice until they’re automatic.
Reel to Backing
1. Arbor Knot
The arbor knot’s only job is holding your backing on the spool, and it does it with two overhand knots. You will tie it about once a year.

It does not need to be pretty. It needs to snug down against the arbor and stay there.
- Wrap the backing around the spool arbor and bring the tag end back alongside the standing line.
- Tie an overhand knot around the standing line with the tag end.
- Tie a second overhand knot in the tag end itself, an inch below the first.
- Wet both knots, pull the standing line so the first knot slides down and jams against the arbor, and the second knot jams against the first. Trim the tag.
Backing to Fly Line
2. Albright Knot
The Albright joins two lines of very different diameters, which is exactly the backing-to-fly-line problem.
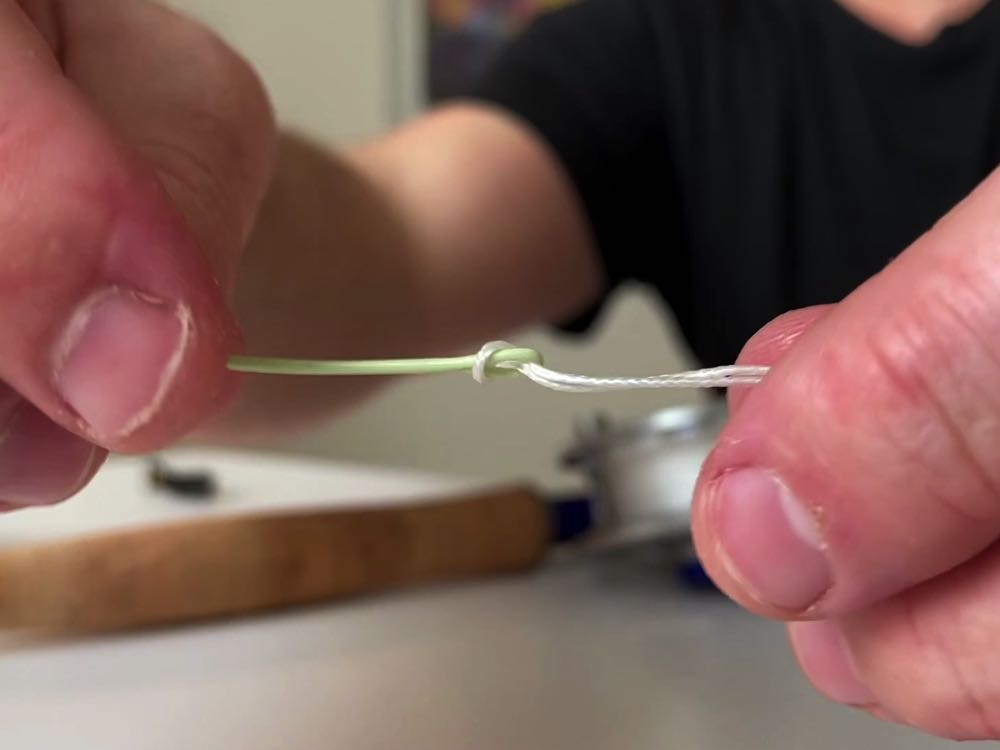
Tied well it runs through the guides without catching, which matters on the day a big fish takes you into the backing.
- Double over the end of the fly line to make a loop about two inches long.
- Run ten inches of backing through the loop, then pinch it against the doubled line.
- Wrap the backing back over itself and both legs of the loop, ten to twelve tight turns, working toward the loop’s closed end.
- Push the backing’s tag end back out through the loop the same side it entered.
- Wet it, then pull both ends of the backing while sliding the wraps toward the loop end. Seat it hard and trim both tags.
3. Uni Knot
The uni is the utility player of this whole list. It joins backing to fly line when you double it, it ties tippet to a fly, and two of them back to back join tippet sections. If you only ever mastered the uni you could fake your way through most of a season.
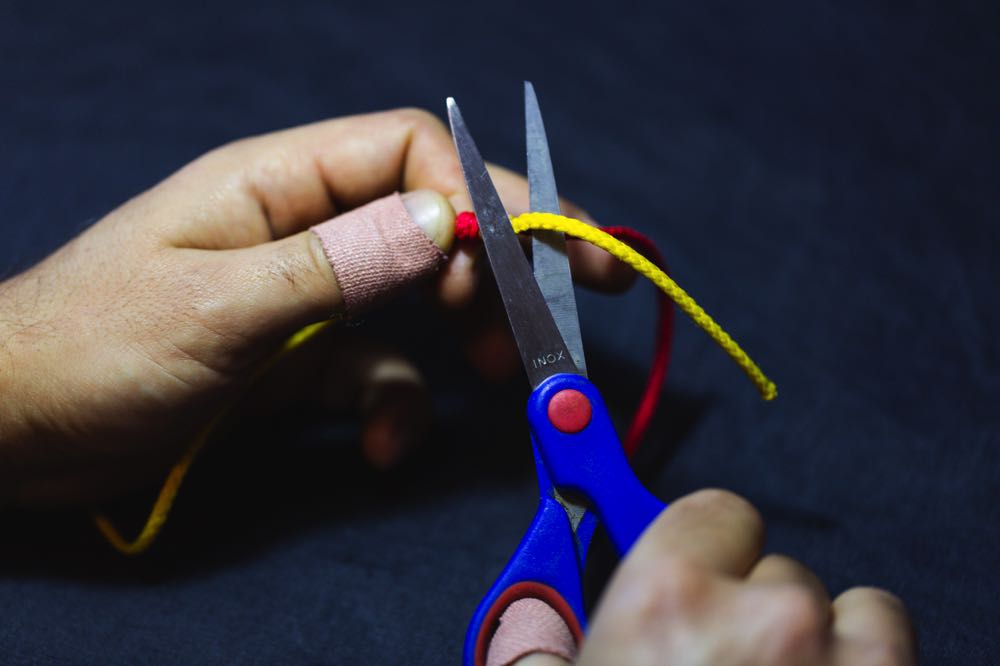
We have a full step-by-step uni knot tutorial with photos of every stage.
- Run the line through the eye (or around the fly line) and bring six inches of tag back alongside the standing line.
- Fold the tag back toward the eye to form a loop above both lines.
- Wrap the tag through the loop and around both lines five turns.
- Wet it and pull the tag so the wraps stack into a neat barrel.
- Slide the barrel down to the eye and give the standing line a firm pull to seat it.

Fly Line to Leader
Most modern fly lines ship with a welded loop on the front end, so plenty of anglers never tie this junction at all. They loop-to-loop a leader on and go fishing. That’s a fine way to live.
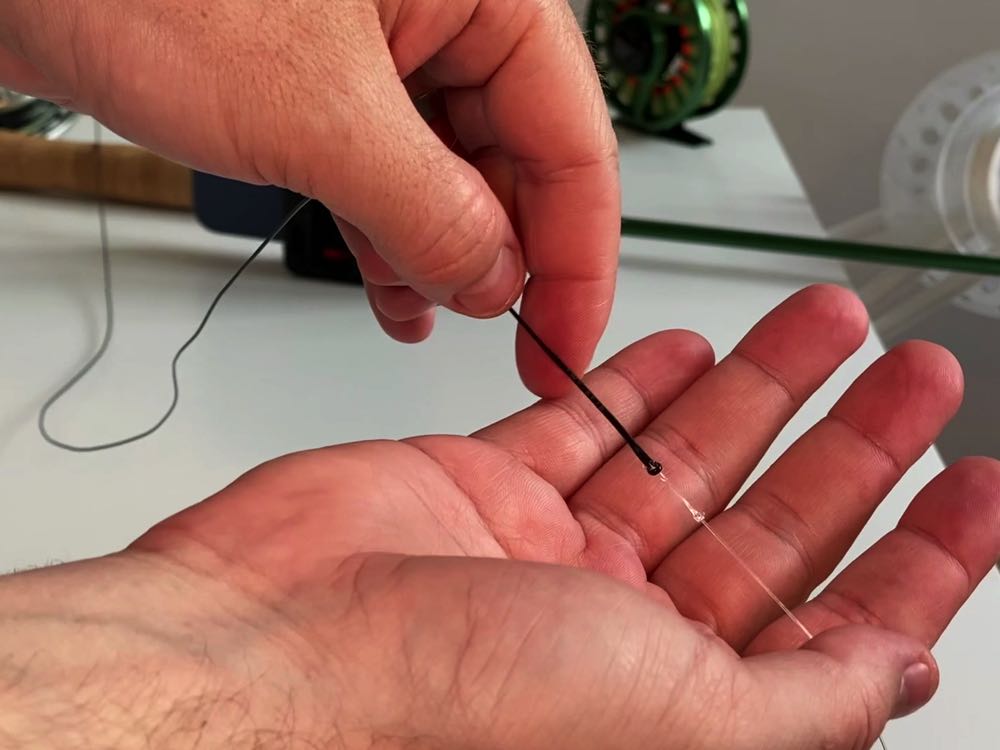
But welded loops wear out, older lines never had them, and a nail knot still makes the smoothest connection through the guides. Every line we ranked in our best fly lines guide comes with a welded loop, if you’d rather skip the nail knot era entirely.
4. Nail Knot
The nail knot cinches the leader butt directly onto the fly line with a barrel of wraps. It’s the slickest junction you can make, and the one that scares people most. A hollow tube, a coffee stirrer, or the nail it’s named for makes it easy.
- Lay the tube along the last two inches of fly line, then lay the leader butt against both, pointing the opposite direction.
- Wrap the leader butt back over itself, the tube, and the fly line six times, each wrap tight against the last.
- Thread the leader’s tag end back through the tube, under all six wraps.
- Slide the tube out, wet the wraps, and pull both ends of the leader to seat the barrel. Snug the wraps one at a time if they cross.
- Pull the fly line and leader hard against each other, then trim the tag and the fly line stub close.
5. Perfection Loop
The perfection loop puts a small, strong loop in the butt of your leader that lines up perfectly straight with the standing line. Tie one in any leader that didn’t come with a loop and you’ve made it loop-to-loop ready.
- Make one loop by bringing the tag end behind the standing line.
- Make a second, smaller loop in front of the first, and hold both where they cross.
- Lay the tag end flat between the two loops.
- Reach through the first loop, grab the second loop, and pull it through. Wet it and seat it slow. The finished loop should sit dead in line with the leader.
6. The Loop-to-Loop Connection
Not technically a knot, but it’s how most leaders meet most fly lines now, and there is a right and a wrong way. Done wrong it forms a girth hitch that pinches and hinges. Done right it forms a square handshake that lies flat.
- Push the fly line’s welded loop through the loop on your leader.
- Pass the entire leader, tip first, through the fly line’s loop.
- Pull the two loops together and check the shape: interlocked like two chain links, never choked around each other.
Leader to Tippet
7. Blood Knot
The blood knot is the classic connection for joining leader to tippet, and the neatest one. It shines when the two lines are close in diameter, within about two sizes of each other.
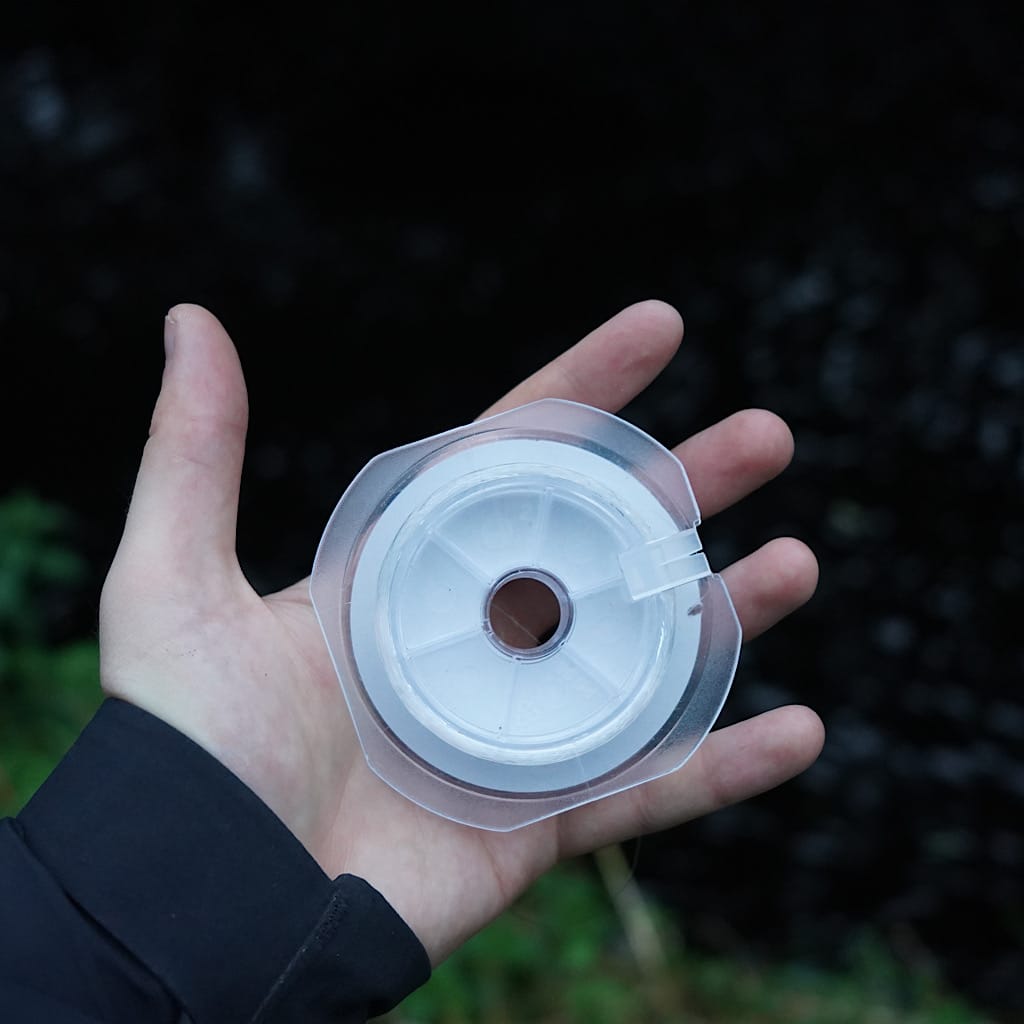
It takes more practice than the surgeon’s, and it’s worth it: the finished knot is slim, straight, and barely disturbs the leader’s taper.
- Cross the leader and tippet with about six inches of overlap.
- Wrap one tag around the other line five times, then bring the tag back and drop it through the gap where the two lines cross.
- Wrap the second tag five times around the first line in the opposite direction, and bring it back through the same gap, entering opposite the first tag.
- Wet everything and pull both standing lines steadily. The wraps should roll into two neat barrels meeting in the middle.
- Trim both tags close.
8. Double Surgeon’s Knot
The double surgeon’s is the knot I actually tie streamside nine times out of ten. It’s fast, it forgives cold fingers, and it handles mismatched diameters better than the blood knot. The trade is a slightly bulkier finish.
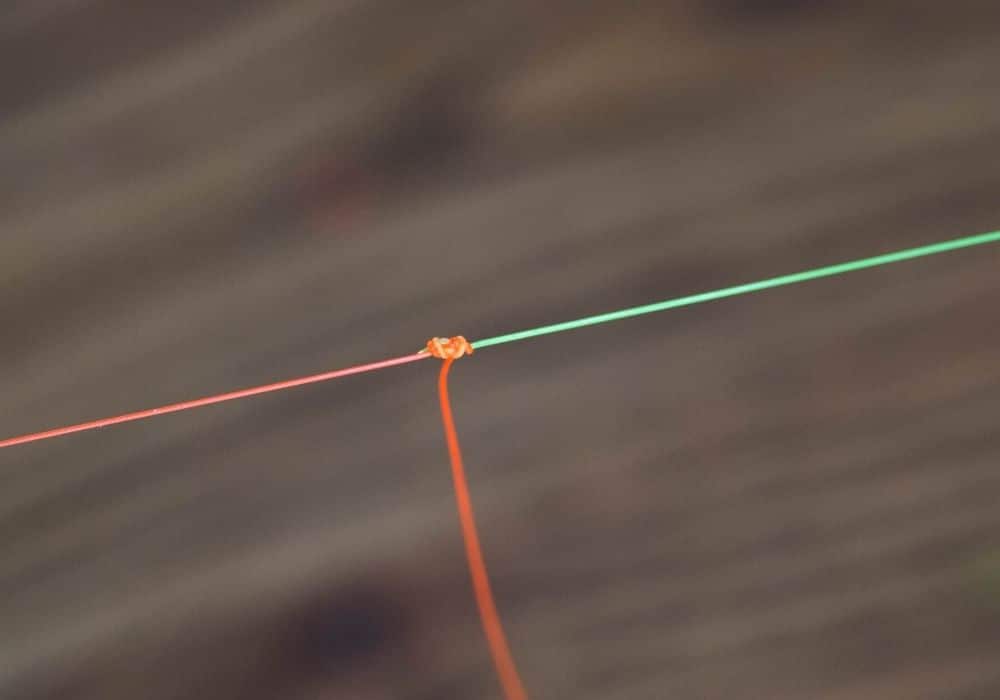
Our surgeon’s knot tutorial breaks it down photo by photo, and the short video below shows the whole tie in under a minute.
- Lay the tippet against the leader with about five inches of overlap, tags pointing opposite directions.
- Tie a loose overhand knot using both lines together, treating them as one.
- Pass the same doubled lines through the overhand loop a second time.
- Wet it, then pull all four ends at once, two in each hand, so the knot seats square. Trim the tags.

9. Surgeon’s Loop
Same motion as the double surgeon’s, tied in a single doubled line instead of two. It puts a quick loop in the end of anything, which is how you make a tippet section loop-to-loop ready, or build a dropper rig without learning anything new.
- Double over the last six inches of line.
- Tie an overhand knot with the doubled line, keeping the loop end long.
- Pass the loop through the overhand a second time, wet it, and seat it by pulling the loop against both standing lines. Trim the single tag.
Tippet to Fly
10. Improved Clinch Knot
The improved clinch is the default fly knot for a reason: it’s strong, it’s quick, and your hands already know it if you ever fished spinning gear. This is the one to practice until you can tie it without looking, because you’ll tie it more than all the others combined. The full clinch knot tutorial covers the standard and improved versions, and the video below is the fastest way to learn the motion.
- Thread five inches of tippet through the hook eye.
- Wrap the tag around the standing line five to seven turns, fewer for thicker tippet, more for fine stuff.
- Push the tag back through the small loop right next to the eye.
- Bring the tag up through the big loop you just created. That last tuck is the improvement.
- Wet it, pull the standing line so the wraps spiral down against the eye, and trim the tag close.

11. Davy Knot
The Davy is the smallest, fastest fly knot there is: essentially a figure-eight pinned through the hook eye. Competition anglers love it because it uses almost no tippet and disappears next to tiny flies. On a size 20 midge from our best flies list, this is the knot I want. Full steps in our Davy knot tutorial.
- Thread the tippet through the eye and tie a loose overhand knot around the standing line.
- Bring the tag back and tuck it through the overhand a second time, catching the front strand so it forms a figure eight.
- Wet it and seat it with a firm pull on the standing line while holding the fly. Trim tight to the knot.

12. Non-Slip Loop Knot
Streamers, poppers, and big dries all fish better with a little freedom. The non-slip loop leaves a small fixed loop at the eye so the fly swings and dives instead of being locked stiff to the tippet. Watch a streamer on a tight clinch next to one on a loop and you’ll never go back.
- Tie a loose overhand knot in the tippet about six inches from the end, then thread the tag through the hook eye.
- Bring the tag back through the overhand knot, entering the same side it exited.
- Wrap the tag around the standing line four to five turns.
- Bring the tag back through the overhand knot one last time, same side again.
- Wet it, pull the tag to snug the wraps, then pull fly and standing line apart to set the loop size. Seat and trim.
Which Knot for Which Job
All twelve knots, one chart, sorted by the junction they own.
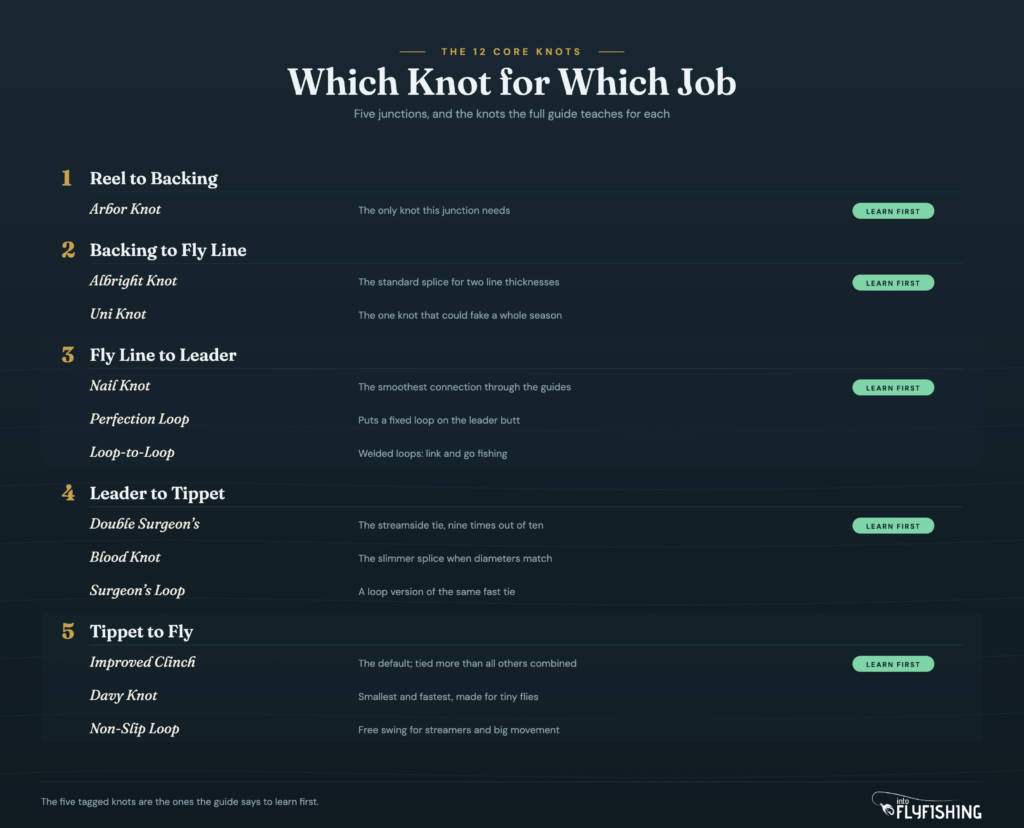
Follow a junction across and you’ll see which knot owns it and which one is the backup.
| Knot | Junction | Reach for it when | Backup |
|---|---|---|---|
| Arbor knot | Reel to backing | Spooling a new reel | Uni knot |
| Albright knot | Backing to fly line | Clean, slim, once-a-season join | Double uni |
| Nail knot | Fly line to leader | No welded loop, smoothest pass through guides | Perfection loop + loop-to-loop |
| Perfection loop | Leader butt | Making any leader loop-to-loop ready | Surgeon’s loop |
| Loop-to-loop | Line to leader | Welded loop on the line, fast leader changes | Nail knot |
| Blood knot | Leader to tippet | Similar diameters, neatest finish | Double surgeon’s |
| Double surgeon’s | Leader to tippet | Cold hands, fading light, mismatched sizes | Blood knot |
| Surgeon’s loop | Tippet end / droppers | Quick loop, dropper rigs | Perfection loop |
| Improved clinch | Tippet to fly | The everyday fly knot | Uni knot |
| Davy knot | Tippet to fly | Tiny flies, saving tippet | Improved clinch |
| Non-slip loop | Tippet to fly | Streamers and big dries that need to move | Uni, left loose |
| Uni knot | Almost anywhere | One knot to rule them all | Everything above |
If You Only Learn 5 Knots
Twelve knots is the full toolbox. Five is the working set. These are the ones that rig a rod from bare spool to fly, and the order I’d learn them.
How to Make Any Knot Stronger
The difference between a knot that holds and one that pops is rarely which knot you picked. It’s how you finished it. Four habits fix most break-offs.
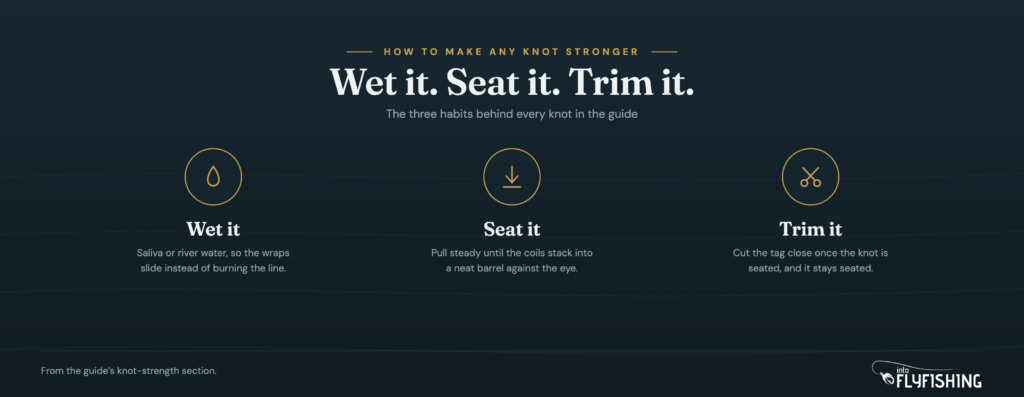
Wet every knot before you seat it. Drawing mono or fluorocarbon down dry builds friction heat, and heat is what weakens the line right at the wraps. Saliva is fine. Seat slow and steady instead of yanking, so the wraps stack instead of crossing. Pull every end the knot has, not just the standing line. And trim tags close but never flush, a millimeter of tag is insurance against slip.
The other knot killer is old tippet. Run your fingers down the last two feet after every few fish, and if it feels rough, cut it back and tie fresh. The best knot in the world can’t save abraded line, something I cover more in my guide to fly fishing for trout.
A 10-Minute Practice Routine
Knots are muscle memory, and muscle memory is built at the kitchen table, not at the river with a hatch coming off. Same logic as lawn practice with your casting: ten minutes at home buys you an hour of actual fishing later. This is the routine I give people.
- Cut two lengths of old leader material, one thick, one thin. Junk line ties the same as fresh.
- Five improved clinches to a bare hook, wetted and seated properly, tags trimmed.
- Five double surgeon’s joining the thick line to the thin.
- Three uni knots, slow, watching the barrel stack.
- One blood knot. It will be ugly for a week. That’s normal.
- Last two of each with your eyes closed. That’s the streamside standard, because dusk is when the big fish eat.
Fly Fishing Knot FAQs
The improved clinch knot is the standard for tying tippet to a fly, and it covers most situations. Go to a Davy knot for very small flies where bulk matters, and a non-slip loop knot for streamers and poppers that fish better with free movement.
Seating matters more than selection. A wetted, slowly seated knot in fresh tippet outperforms a stronger pattern tied dry. Among fly knots, the uni and the non-slip loop hold close to full line strength when finished properly, which is why they cover the heavy-duty jobs.
Use the loop-to-loop connection. Nearly all modern fly lines come with a welded loop, so you just need a loop in your leader butt: tie a perfection loop, join the two loops so they interlock like chain links, and you’re fishing.
Five: the arbor knot, a backing-to-line join like the Albright or double uni, the nail knot or a loop-to-loop for the leader, the double surgeon’s for tippet, and the improved clinch for the fly. The rest of the twelve are upgrades for specific jobs.
Pulling a knot tight builds friction, and friction heat weakens monofilament and fluorocarbon exactly where the wraps sit. A little saliva lubricates the wraps so they slide into place cool and seat evenly, keeping the knot near full line strength.
Tie Them Until You Don’t Think About Them
Nobody falls in love with fly fishing because of the knots. But every angler I know who catches fish consistently ties fast, clean connections without thinking about them, and that freed-up attention goes to reading water and watching the drift, which is where fish actually come from.
Start with the five. Add the loop knot when you start throwing streamers, the blood knot when you want prettier leaders, and the Davy when the flies get tiny. By next season the whole list will live in your hands.
Amazon and the Amazon logo are trademarks of Amazon.com, Inc, or its affiliates.
As a part of the Amazon Associates Program and other affiliate programs, Into Fly Fishing® may receive a comission if you order products through links on this website.