As an Amazon Associate I earn from qualifying purchases.
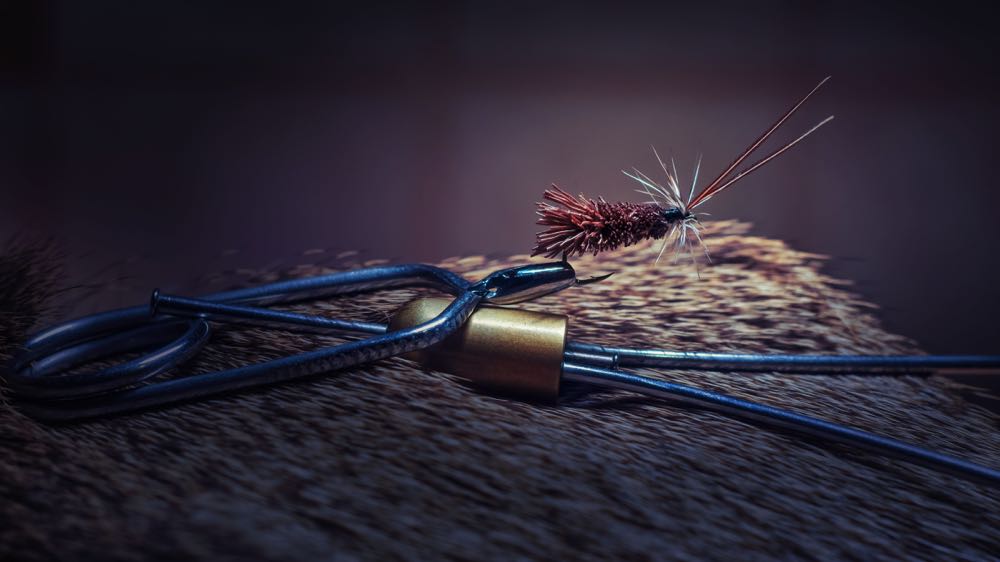
This step by step guide will teach you how to hackle a fly. I struggled with this technique when I started tying more than 20 years ago. This was mainly because of my lack of knowledge of material and the methods involved.
Since then, I have tied thousands of hackles on flies. I decided to write a guide on hackles because it’s a technique that every new tier struggles with. Ultimately, it’s a method that you’ll need to conquer and I’m here to help.
As a part of the Amazon Associates Program and other affiliate programs, Into Fly Fishing® may receive a comission if you order products through links on this website.
What is a Hackle?
A hackle is created by wrapping a feather around the hook shank or post, as with parachute flies. Various feather types can be used. Mostly, the feather has a flexible stem to be wrapped around a fine hook.
The hackle serves one or more specific purposes on a fly. Whichever it is, it falls into one of the following three categories:
Legs
The addition of legs to a fly can greatly improve its effectiveness. The legs enhance the profile of a nymph or dry fly. If you are using a hackle solely for this purpose, use it sparingly as you don’t want to overdress the fly.
Floatation
Hackles are used on many dry flies to increase their buoyancy. If the hackle is proofed well with floatant, it can’t absorb water. On small flies, the quality of the hackle is extremely important as the stiff fibers provide the structure to support the weight of the fly.
Movement
A hackle can provide brilliant lifelike movement to your fly. Think about the hackle that is wound around the body of a Woolly Bugger.
Tools For Managing Hackle
When adding hackle to a fly, there are a few tools that most fly tyers will have on their bench. In most cases, these are essential for tying flies, so if you plan to hackle a lot of flies, then you should consider having these.
Hackle Pliers
We have an entire guide on the best fly tying hackle pliers which lists a few things to know about these pliers, as well as the highest quality ones you can buy. Basically, hackle pliers make it easier to grip and wrap hackle to flies.
Scissors
Every fly tying bench should have a good pair of fly tying scissors, preferably a pair of long scissors and a pair of short scissors.
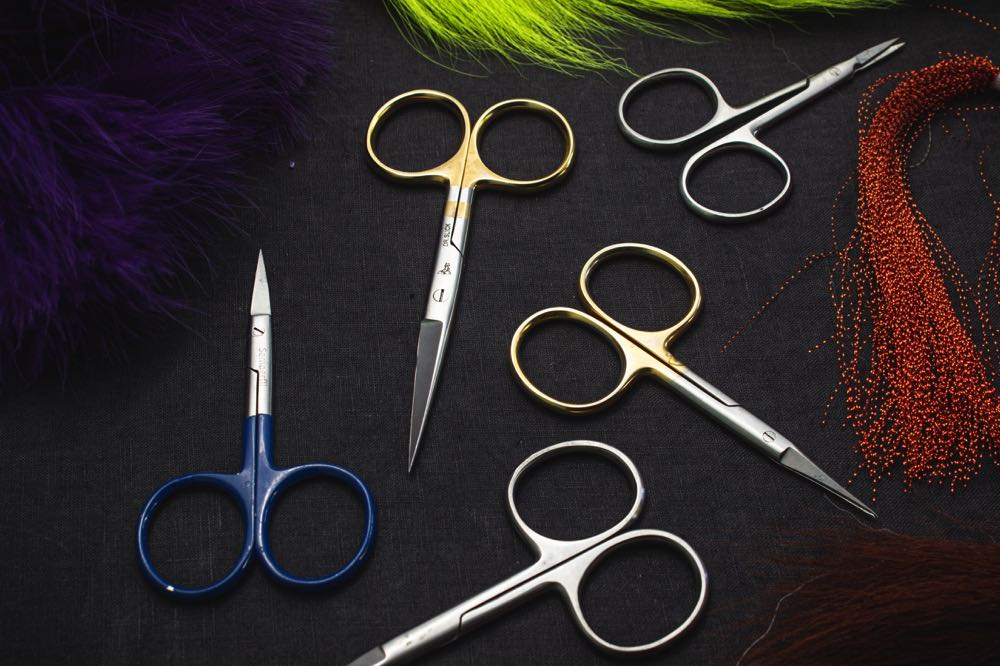
If you’re not sure which fly tying scissors you should purchase, check out our guide on the best fly tying scissors which lists a few top pairs of snips as well as some things to know before you purchase.
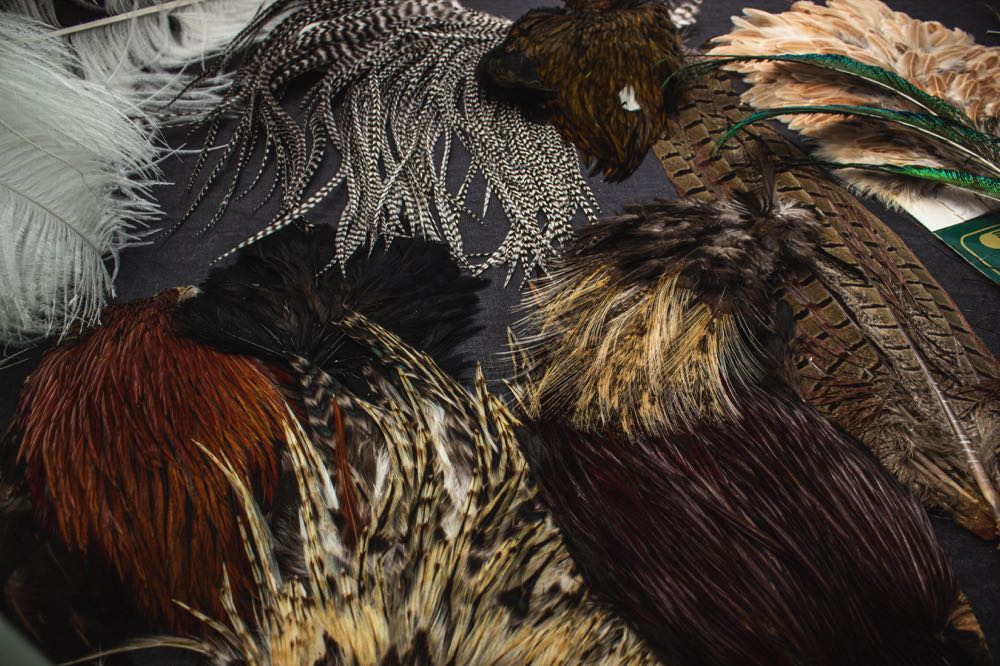
Types of Hackle Material
Any feather with a flexible stem can be used to hackle a fly. From Schlappen and Marabou on large saltwater flies to the small stuff for size 20 dry flies. In this section, we will pay attention to 3 basic types of material that are used on most freshwater flies.
Cock Neck Feathers
The Cock Neck Feather is the best to start with when you’re taking up fly tying. You can buy a decent quality skin for a fair price. The skins offer you a wide range of sizes making it possible to tie from a dry fly to a Woolly Bugger.
The feather has relatively stiff fibers and the butt section usually tapers to a quite thick stem. In most cases, you will tie this feather in at the tip of the feather.
Hen Feathers
The feather from a hen’s skin is soft and short. This feather is perfect for soft hackle flies, hackles on small streamers, and creating legs on nymphs.
Cock Saddle Feathers
As your tying advances, especially in the dry fly domain, the need for more specialized feathers will arise. Cock Saddle Feathers are excellent for small dry flies (12 – 22). Decent quality feathers are expensive but the skin will last you a very long time.
Usually, a saddle skin will be classified for specific fly sizes. For example, one saddle might be good for tying size 14 – 18 flies and the other suited to sizes 12 – 14. The feathers are long and the fibers of equal length throughout the feather. This feature makes it possible to tie up to 5 flies with a single feather.

Let’s Get Started!
How To Hackle a Fly
To show you how to prepare and use a hackle feather, we’re going to tie a Woolly Bugger. If you want more in-depth information about this deadly fly, please read more in our How to Tie a Wooly Bugger guide. Please feel free to follow the process with the material you have at hand.
Step 1: Start The Fly Until The Hackle Needs To Be Tied In
Slide the tungsten bead over the hook and place the hook in the vise. Tie in the marabou tail and Krystal flash.
More detail on these steps can be found in our Wooly Bugger tying guide. We can now prepare the hackle.

Step 2: Pull The Suitable Feather From The Skin
Select a feather from the skin where the length of the fibers is suitable for the size of the fly you’re tying.
With a Woolly Bugger, the fibers can be quite long as this will give the fly more movement.

Step 3: Remove Fibers At The Base
Pinch and pull the soft and off-colored fibers from the base of the feather. By doing this, you are providing the hackle pliers a clean surface to grip onto.

Step 4: Pull The Fibers Perpendicular
Hold the feather’s tip between two fingers and stroke back the hackle fibers. The idea is to get them to stand up perpendicular to the stem.
This will prevent trapping the fibers when wrapping the hackle.

Step 5: Tie in The Feather
Tie the tip of the feather in at the base of the fly’s tail.
Secure with a couple of thread wraps and cut off the excess tip. Cover the excess with more thread wraps.

Step 6: Create The Body
Create the desired body for the Woolly Bugger.
Stop the body just behind the bead and leave the thread at this point.

Step 7: Attach The Hackle Plier
Open the jaws of a hackle plier and slide the clean tip in between.
Close the jaws and make sure you have a good grip on the feather.

Step 8: Wrap The Hackle Forward
I prefer wrapping the hackle in the same direction as the thread. This direction will make more sense when we secure the feather.
Wrap the feather forward leaving even spaces. Pay special attention not to trap any fibers.

Step 9: Secure The Hackle
Secure the hackle with a couple of thread wraps when you reach the thread position. The direction of the thread will pull the hackle tighter.
If you wrapped the hackle in the opposite direction, the hackle has a chance of slacking slightly.

Step 10: Finish The Fly
Finish the fly with one or two whip finishes and a drop of your favorite cement or resin.
If you need to learn how to do a whip finish, check out our guide.

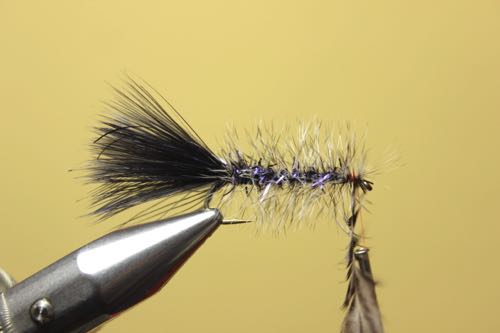
The Hackled Fly

Now You Know
How To Hackle a Fly
You now have the basic knowledge about applying a hackle to a fly. My words and pictures are no replacement for practice. Therefore, get a cheap hackle skin from your local tying store and play around with hackles.
If you found this article interesting, please share it with your tying friends. And as always, leave any comments and questions at the bottom of the page.
Like This Article? Pin it!


Amazon and the Amazon logo are trademarks of Amazon.com, Inc, or its affiliates.


